Create And Manage Vendors
Add New Vendor
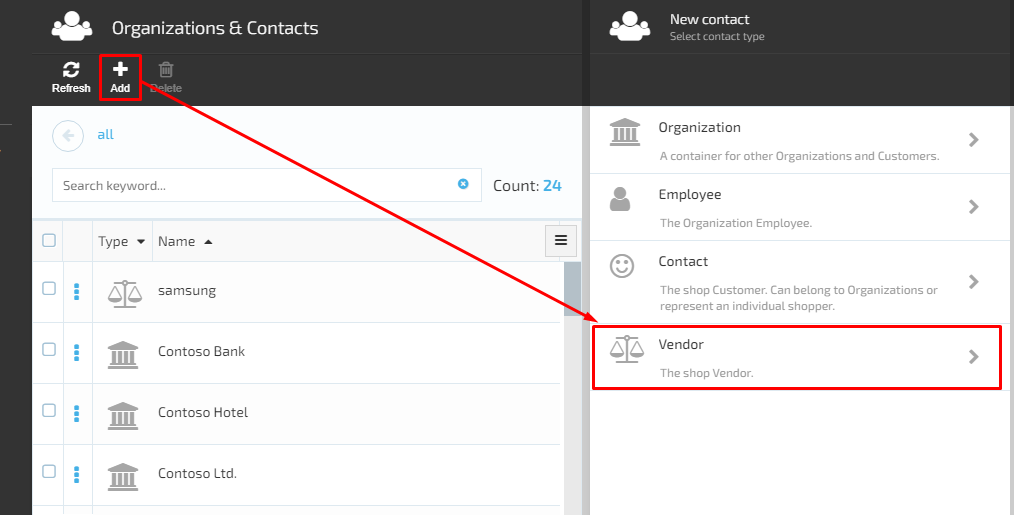
- The user opens the Contacts Module->clicks ‘Add’ and selects ‘Vendor’;
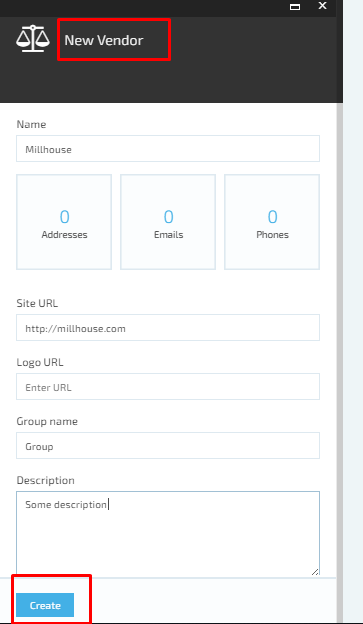
- The system will open the ‘New Vendor’ screen and the following fields and widgets will be displayed:
- ‘Name’ field- required;
- ‘Site URL’ field;
- ‘Logo URL’ field;
- ‘Group name’ field;
- ‘Description’ text box;
- Widgets:
- Addresses;
- Emails;
- Phones;
- ‘Create’ button is disabled by default.
- The user fills out the form and clicks the ‘Create’ button;
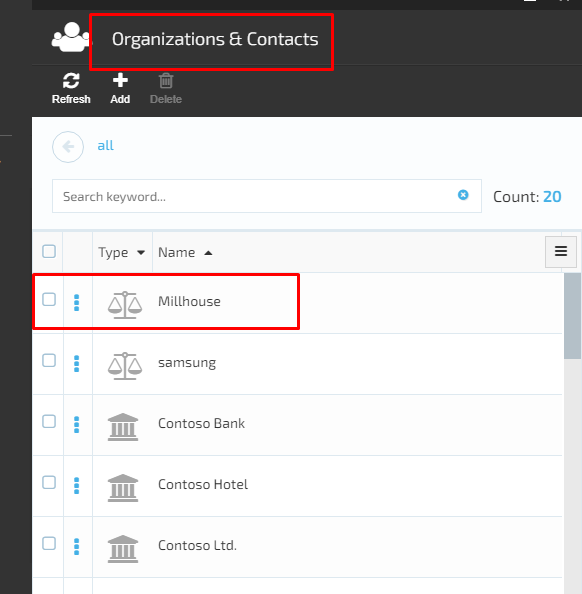
- The system will create the new Vendor and display it on the list of Contacts& Organizations;
Edit vendor Details
- The user selects the Vendor from the Organizations & Contacts list and clicks the ‘Manage’ button;
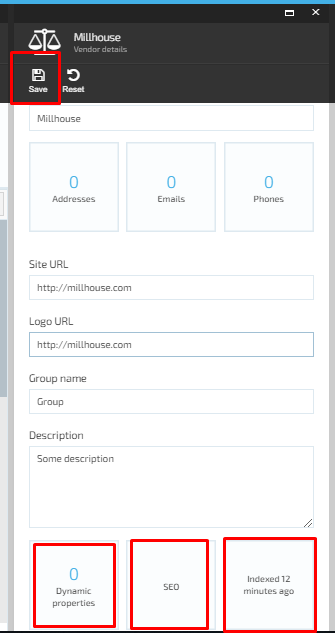
- The system will display the ‘Vendor details’ screen:
- All fields and widgets are editable;
- Additional widgets appear on Vendor details screen:
- Dynamic properties;
- SEO;
- Indexing.
- The user makes the editing and saves the changes;
- The system will save the changes and display the updated Vendor details.
Last update:
February 1, 2024