Vendor management
In this article, we will go through the step-by-step process of editing vendor information and optimizing product management, as well as learning how to assign categories and subcategories to vendors for seamless product uploads.
Edit vendor
To edit a vendor:
- Click Vendor in the main menu.
- Select the vendor you need to edit.
- In the next blade, edit the desired fields.
- Click Save in the toolbar to save changes.
Vendor tasks and entities
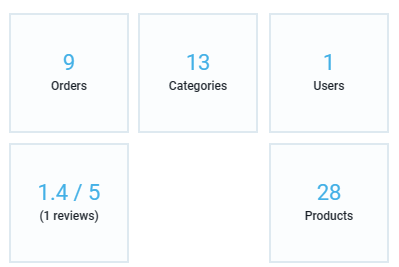
When you go to the vendor details blade, you see a list of widgets that are shortcuts to specific entities related to the vendor, such as vendor uploaded products, offers, vendor orders, and more.
Products
The Products widget displays a list of products uploaded by the vendor. From here, you can view, edit, approve, or decline the vendor's products.
For more information, refer to the Catalog management page.
Categories
The Categories widget allows you to manage the categories to which a vendor can upload products. Vendors can only upload products to categories and subcategories that are assigned to them.
To assign a category or a set of categories to the vendor:
- Click the Categories widget.
- In the next blade, click Add in the toolbar.
- Check categories to assign to the vendor.
- Click Map in the toolbar.
To remove categories assigned to the vendor:
- Click the Categories widget.
- In the next blade, check categories to remove from the Vendor.
- Click Delete in the toolbar.
- Type Yes to confirm the deletion, and then click Confirm.
Users. Employees management
The Users widget allows you to view and manage the vendor's employees. Here you can add employees, edit existing employee details, change the role for the employee, re-send the invitation email, or delete unused employee accounts.
Add new employee
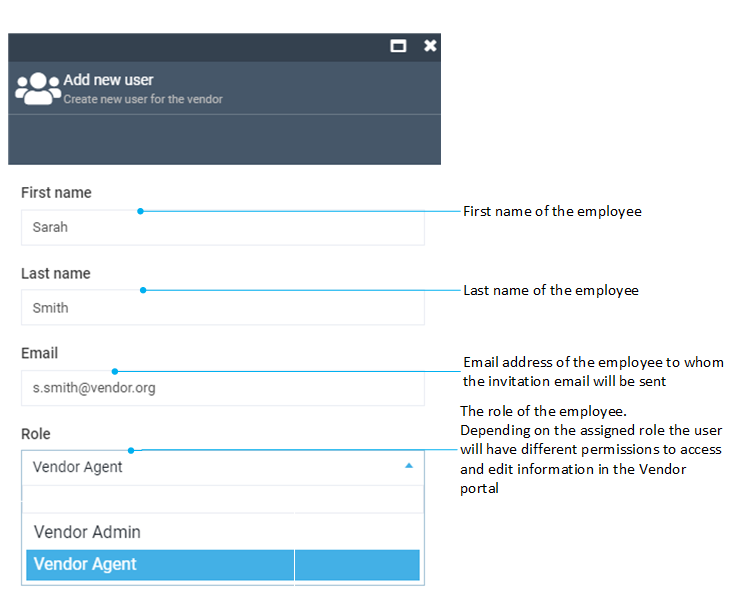
To invite a new employee to the vendor:
- Click the Users widget.
- In the Vendor users blade, click Add in the toolbar.
-
In the new blade, fill in the following fields:
-
Click Invite.
Edit employee
To edit an employee:
- Click the Users widget.
- In the Vendor users blade, select the employee you need to edit.
- Edit the desired fields.
- Click Save in the toolbar.
Re-send invitation
This feature can be useful if an employee did not receive the initial invitation email for various reasons, or if the invitation activation link has expired.
To resend an invitation email with the new activation link:
- Click the Users widget.
- In the Vendor users blade, select the employee you need to resend the invitation to.
- Click Resend invite in the toolbar.
Delete employee
To delete an employee:
- Click the Users widget.
- In the Vendor users blade, check the employee(s) you need to delete.
- Click Delete in the toolbar.
- Confirm the deletion.
Orders
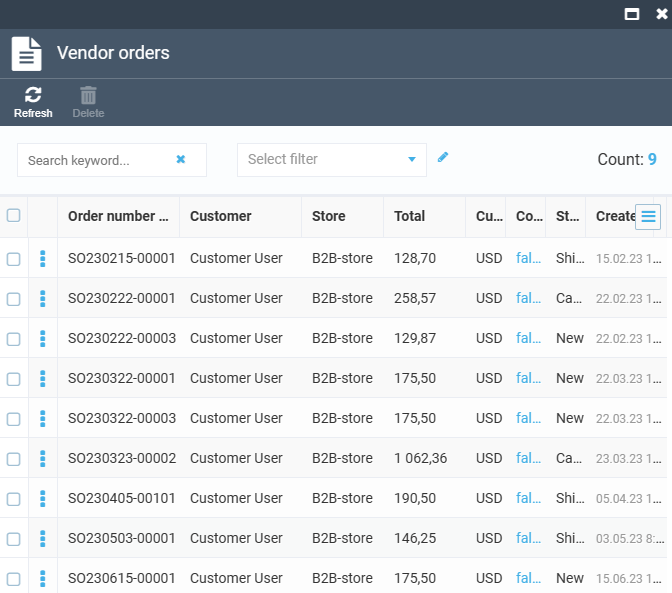
Although there is a separate Operator orders menu where an operator can view customer orders, there is an option to view supplier-related orders after the original customer order has been split:
- Click the Orders widget to view supplier orders.
-
Click an order to view its details: customer details, delivery details, items ordered, quantities and prices, status, and more.
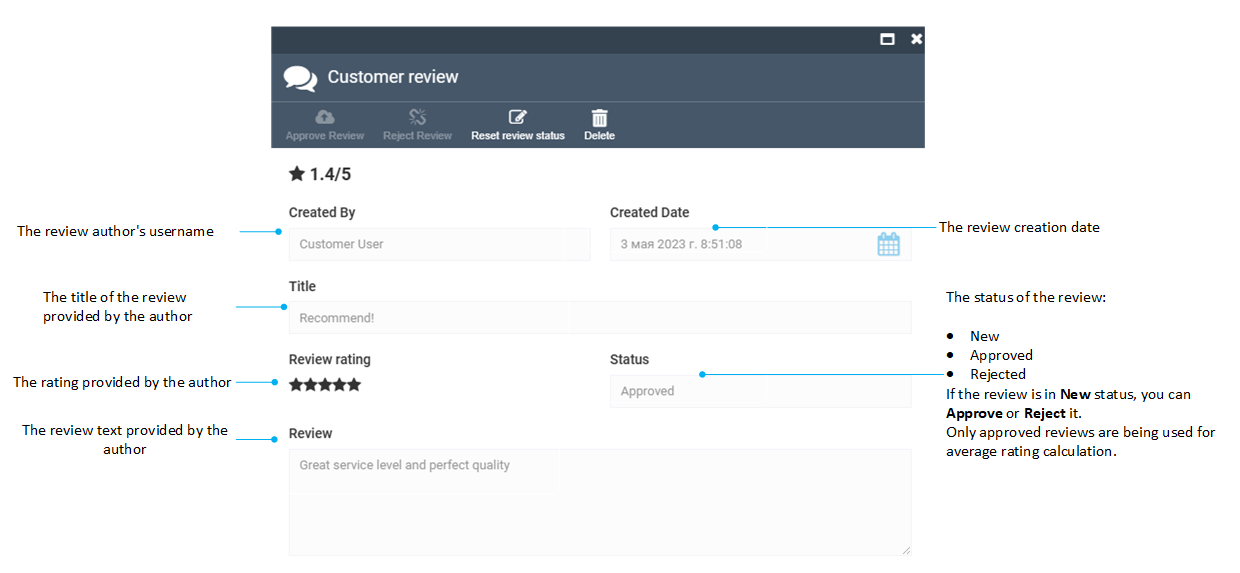
Reviews
The Reviews widget provides customer feedback on the service level of the vendor. The widget shows the average rank of the vendor and a number of customer reviews for the Vendor.
Read more about Rating and reviews
To view, approve, or reject customer reviews:
- Click the Reviews widget to open a list of reviews left for the vendor by the customers.
- Click the review item in the list to see its details.