Overview
In this article, we will integrate Storyblok CMS into the category page of the Virto Commerce vue-b2b-theme. The integration will allow you to create and manage content in Storyblok CMS and display it in the Virto Commerce vue-b2b-theme.
To use Storyblok CMS with the page:
- Create page model in the Storyblok CMS for the category page. The page model defines the properties of the category page and how it is rendered in the Storyblok CMS.
- Add Storyblok to the page component in Virto Commerce vue-b2b-theme. This allows you to fetch content from Storyblok and display it in the category page.
- Create content in the Storyblok CMS. Add components to your page model and fill them with content.
Create Page Model in Storyblok
To create Page Model in Storyblok:
- Go to the Block Library menu and click New Block in the top right corner.
- Enter the name of the component. We enter Catalog as the name.
- Add a new field called body of type Blocks and showSidebar of type Boolean. This will allow you to hide the sidebar if needed.
-
Click Save to save the changes.

-
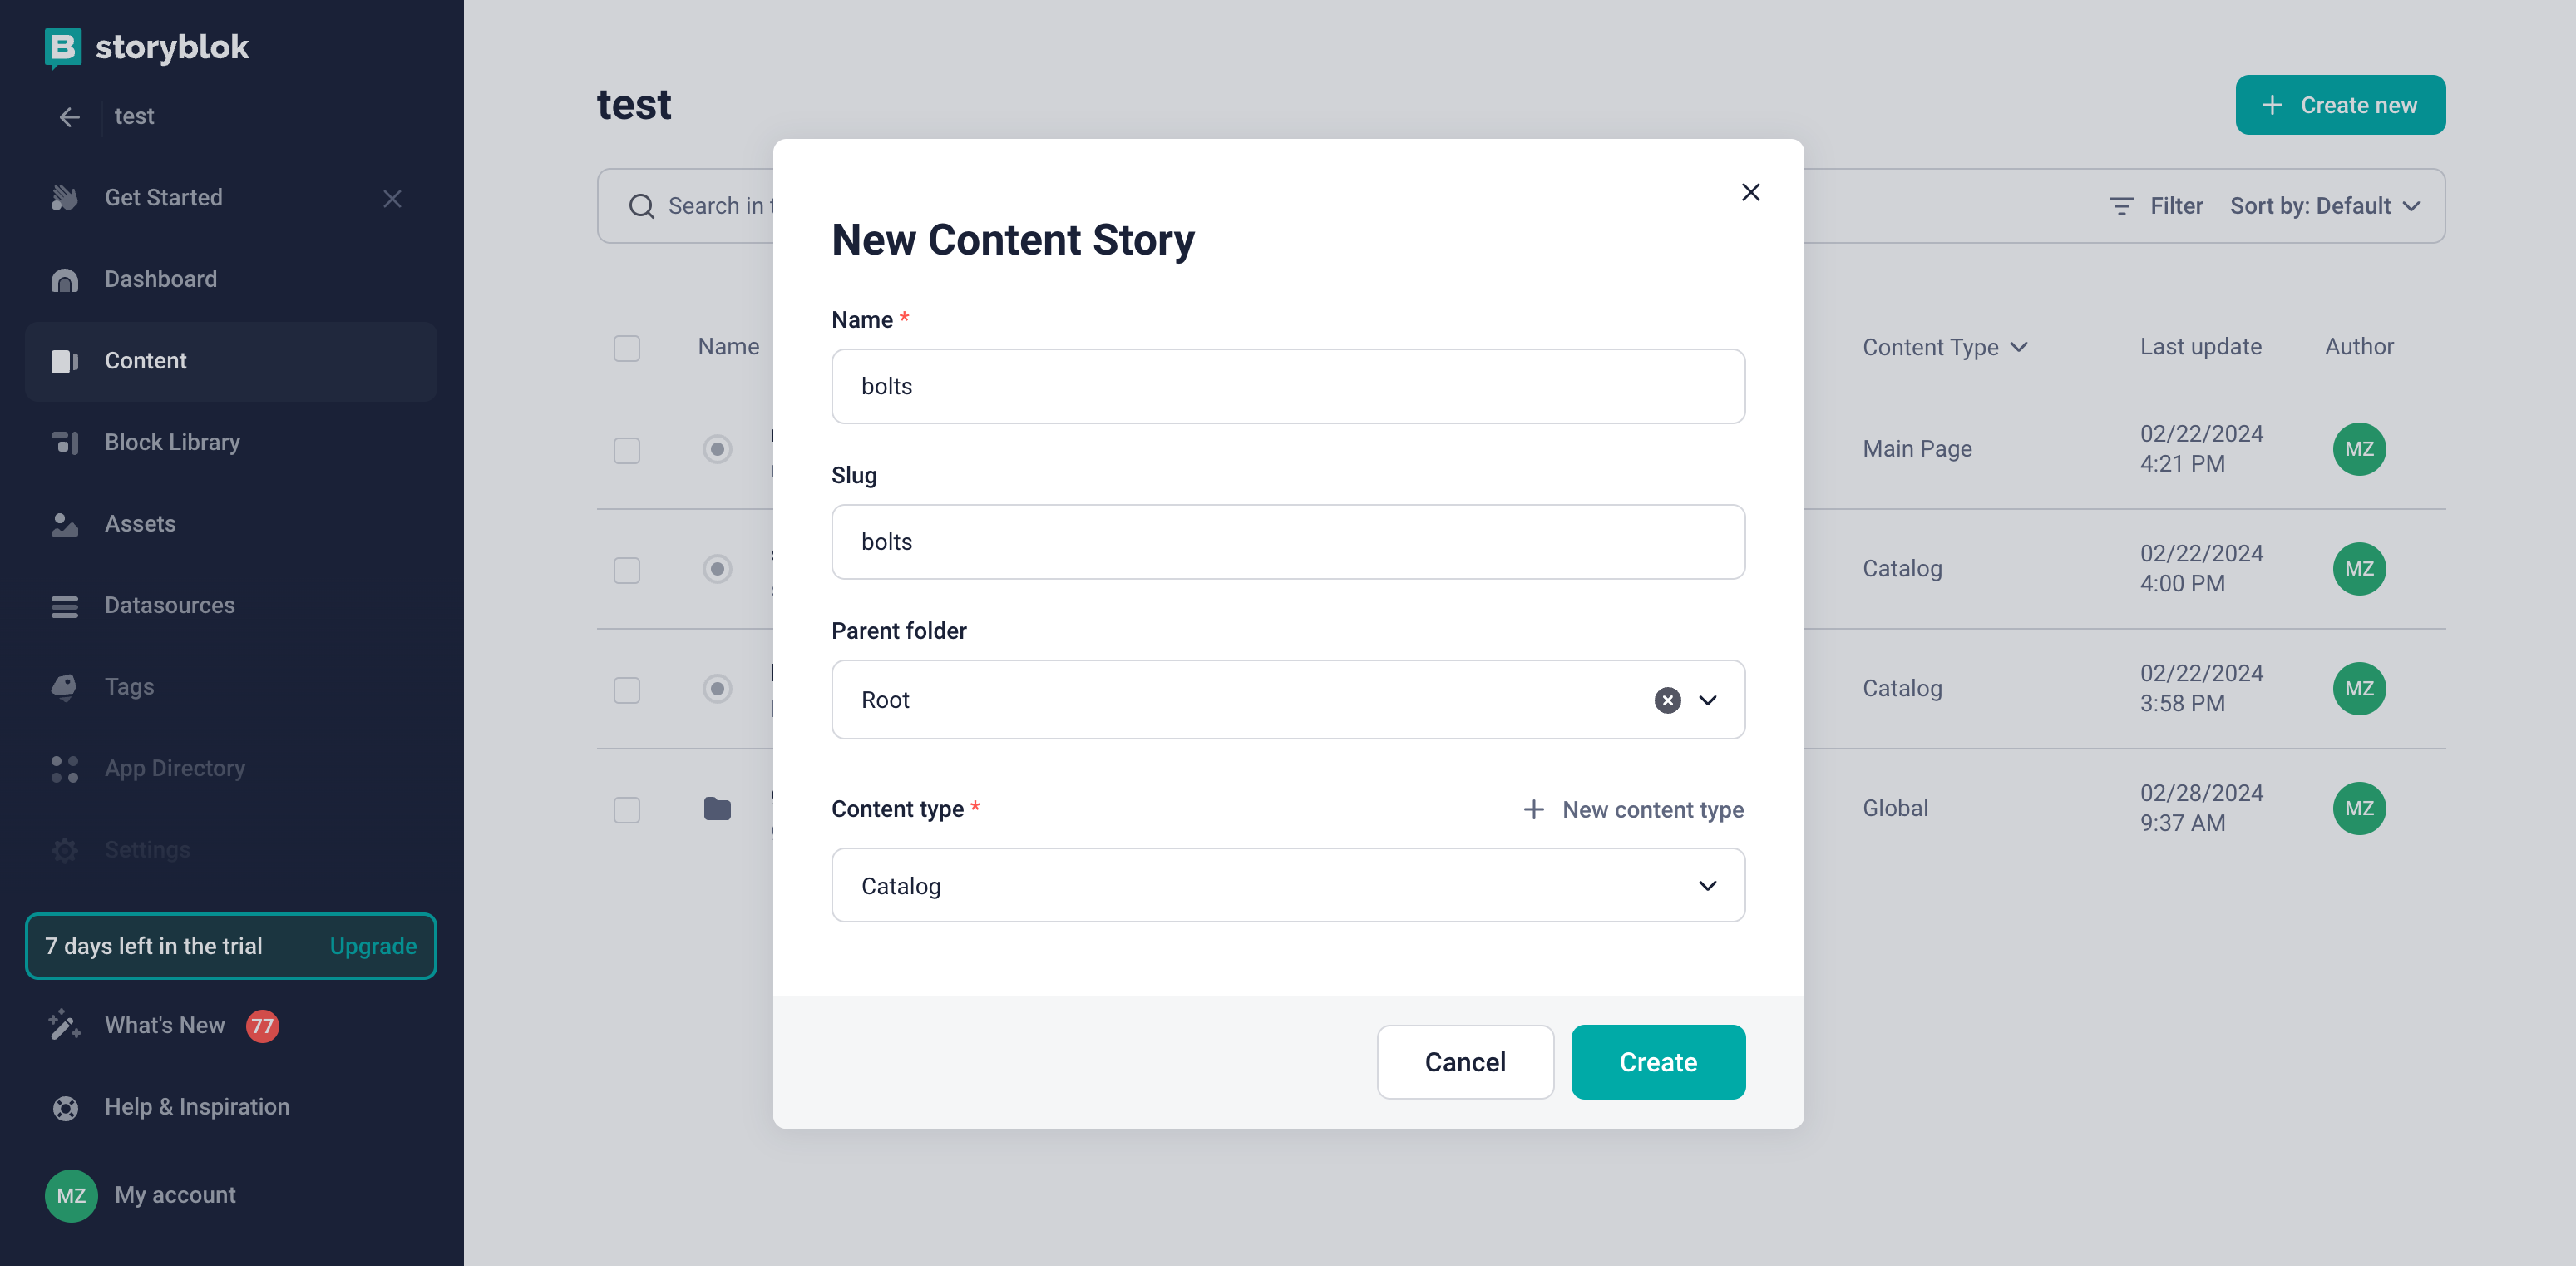
Use this block to create the content for our category page: Go to the Content menu and click on the Create new to create new Story with previously created Catalog block:
Add Storyblok to Page Component
To integrate Storyblok with the category page:
-
Create new landing-page.vue component in the client-app/shared folder:
client-app/shared/landing-page.vueimport { useStoryblok } from "@storyblok/vue"; import { onBeforeMount, ref, toValue } from "vue"; import { onBeforeRouteUpdate } from "vue-router"; const story = ref({}); onBeforeMount(async () => { await tryLoadContent(window.location.pathname); }); onBeforeRouteUpdate(async (to) => { await tryLoadContent(to.fullPath); }); async function tryLoadContent(urlPath: string) { story.value = toValue(await useStoryblok(urlPath, { version: "draft" })); } -
Add the landing-page.vue component to the matcher.vue component as a wrapper and pass slot props
storyblokPropstoCategorycomponent:client-app/pages/matcher.vue<template> <LandingPage> <template #default="storyblokProps"> <component :is="Category" v-if="seoInfo?.entity?.objectType === 'Category'" :category-id="seoInfo?.entity?.objectId" v-bind="storyblokProps" /> <component :is="Product" v-else-if="seoInfo?.entity?.objectType === 'CatalogProduct'" :product-id="seoInfo?.entity?.objectId" /> <component :is="StaticPage" v-else-if="seoInfo?.page" /> <NotFound v-else-if="!loading" /> </template> </LandingPage> </template> -
As we want to use
showSidebarproperty to control sidebar visibility, we change thecategory.vuecomponent to use props frommatcher.vueand addv-ifcondition onsidebarsection.client-app/shared/catalog/components/category.vue
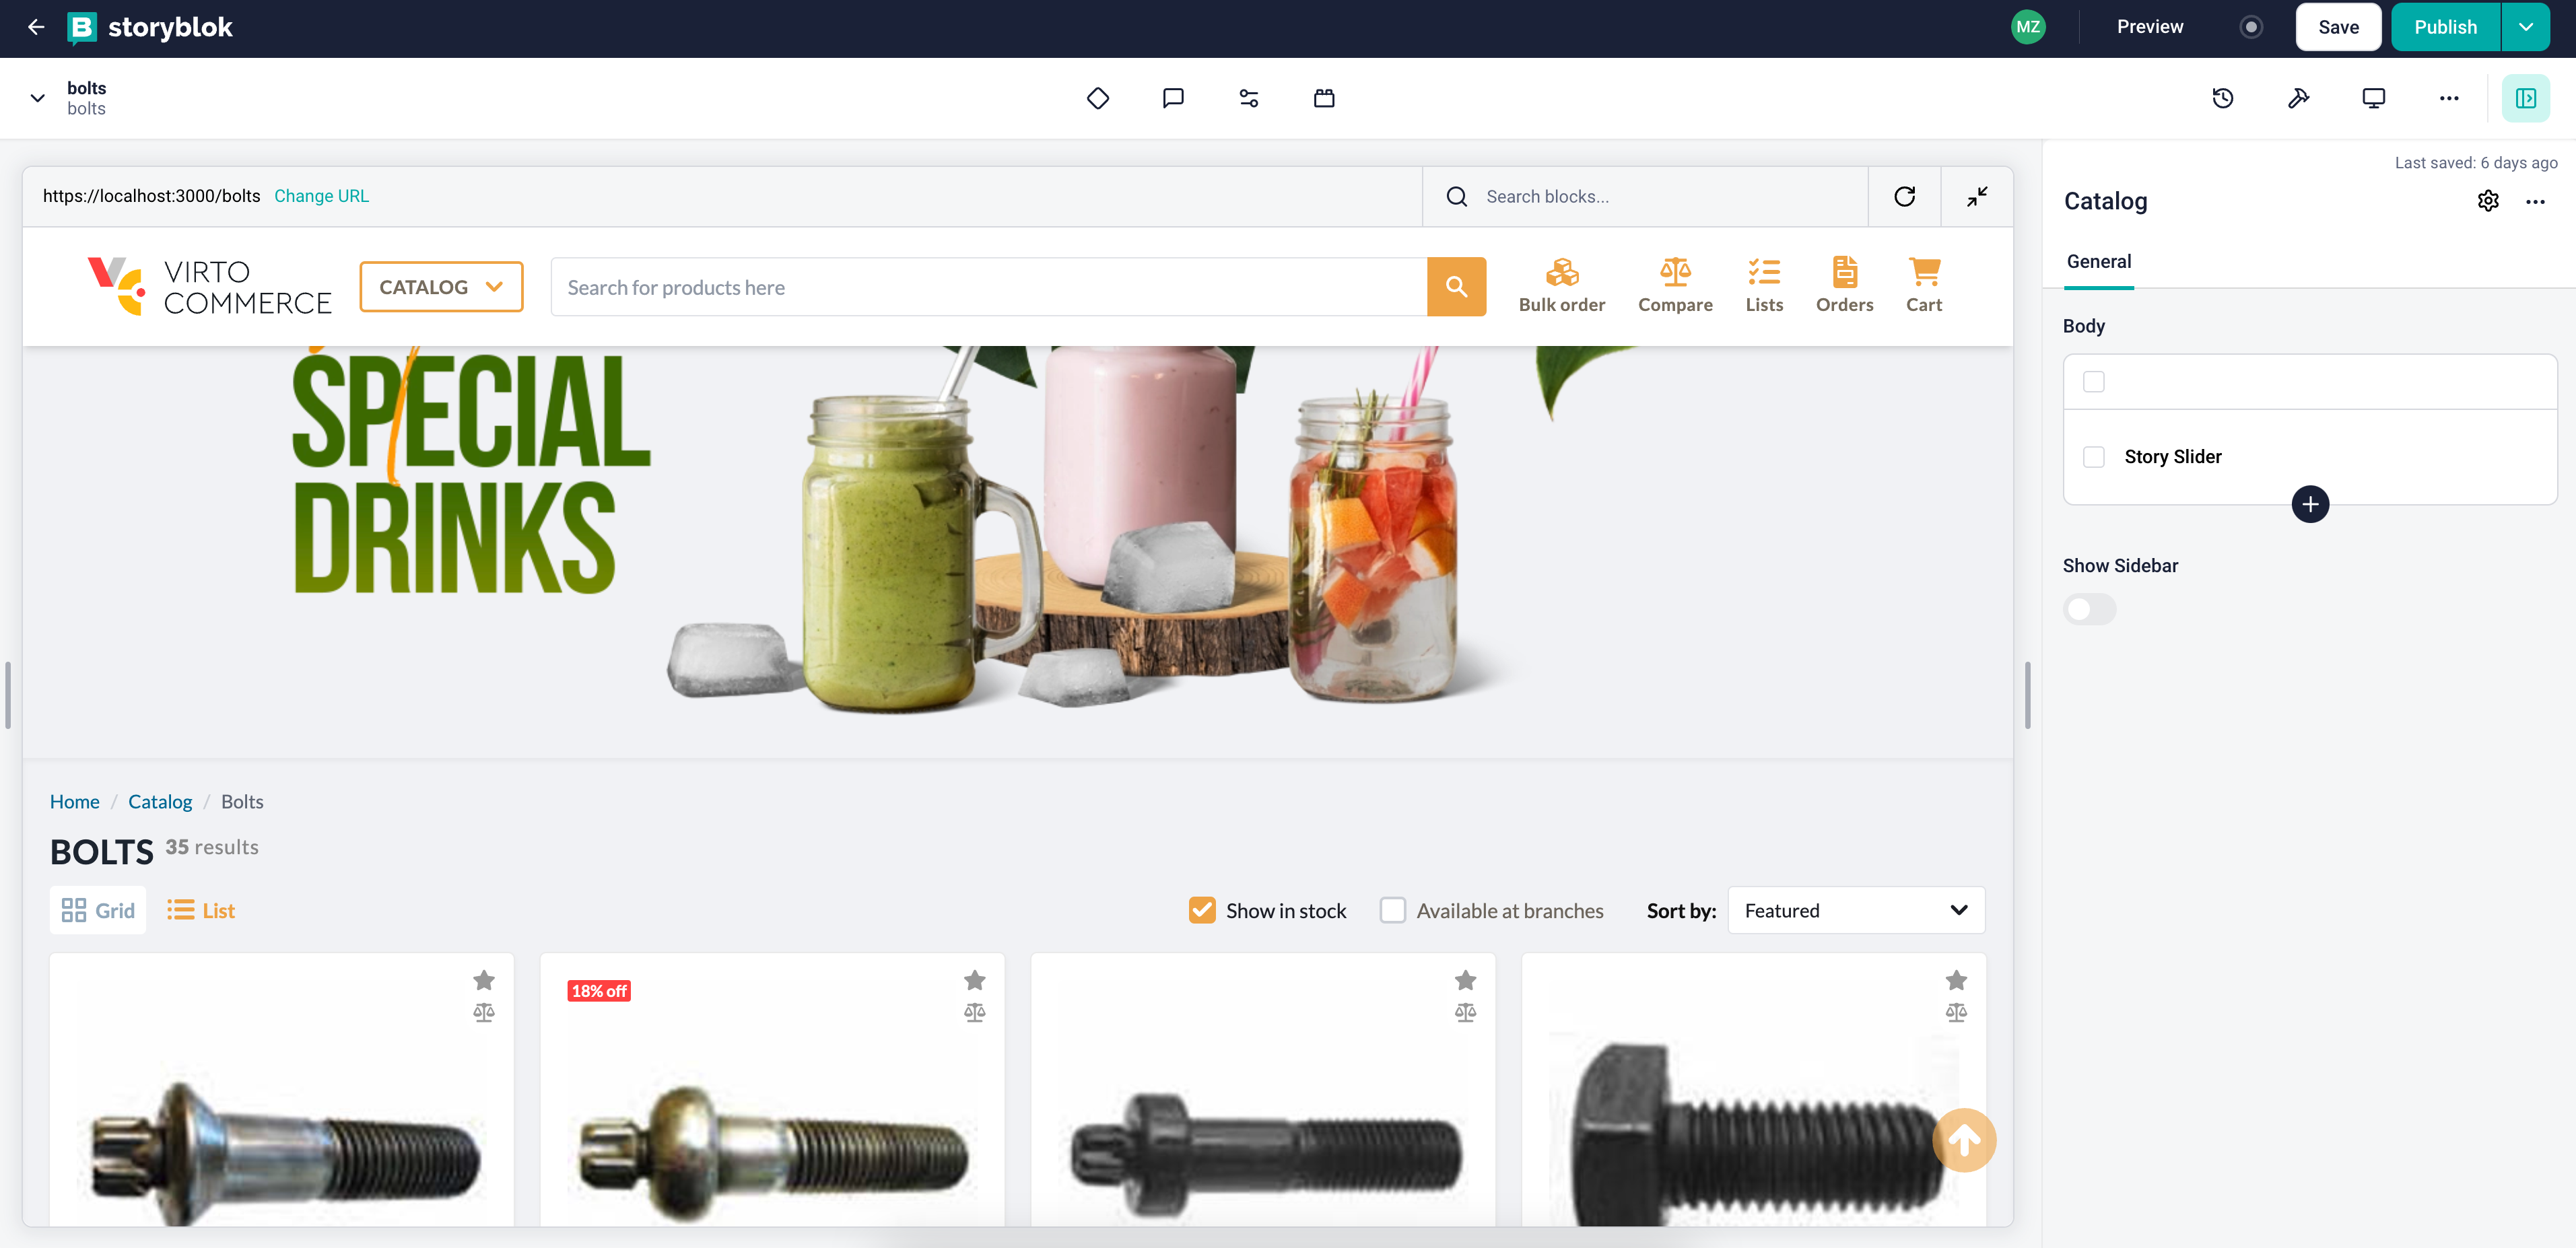
Now you can preview the category page in the Storyblok and start creating content for it.
Create content
After adding Storyblok to the category page component, start creating content in the Storyblok CMS. Add components to your page model and fill them with content.
If you have already added custom components to Storyblok, use them to create content for the page.
As a result, you will get integration of Storyblok CMS with the category page of Virto Commerce vue-b2b-theme: