Overview
In this article, we will integrate footer with the Storyblok CMS. The integration will allow you to create and manage footer sections and navigation links in the Storyblok CMS and display them in the Virto Commerce vue-b2b-theme.
With this guide, we will:
- Set up and create global component.
- Create footer block.
- Create footer content.
- Fetch Content from Storyblok.
Set Up Global Component
To set up a folder in Storyblok:
-
Define a content type for the folder. Let's name it global as it will hold our global components. We should also ensure that the content type in the global folder cannot be changed, so that we only have entries of that type. Additionally, we should select the default content type option so that global is already chosen.
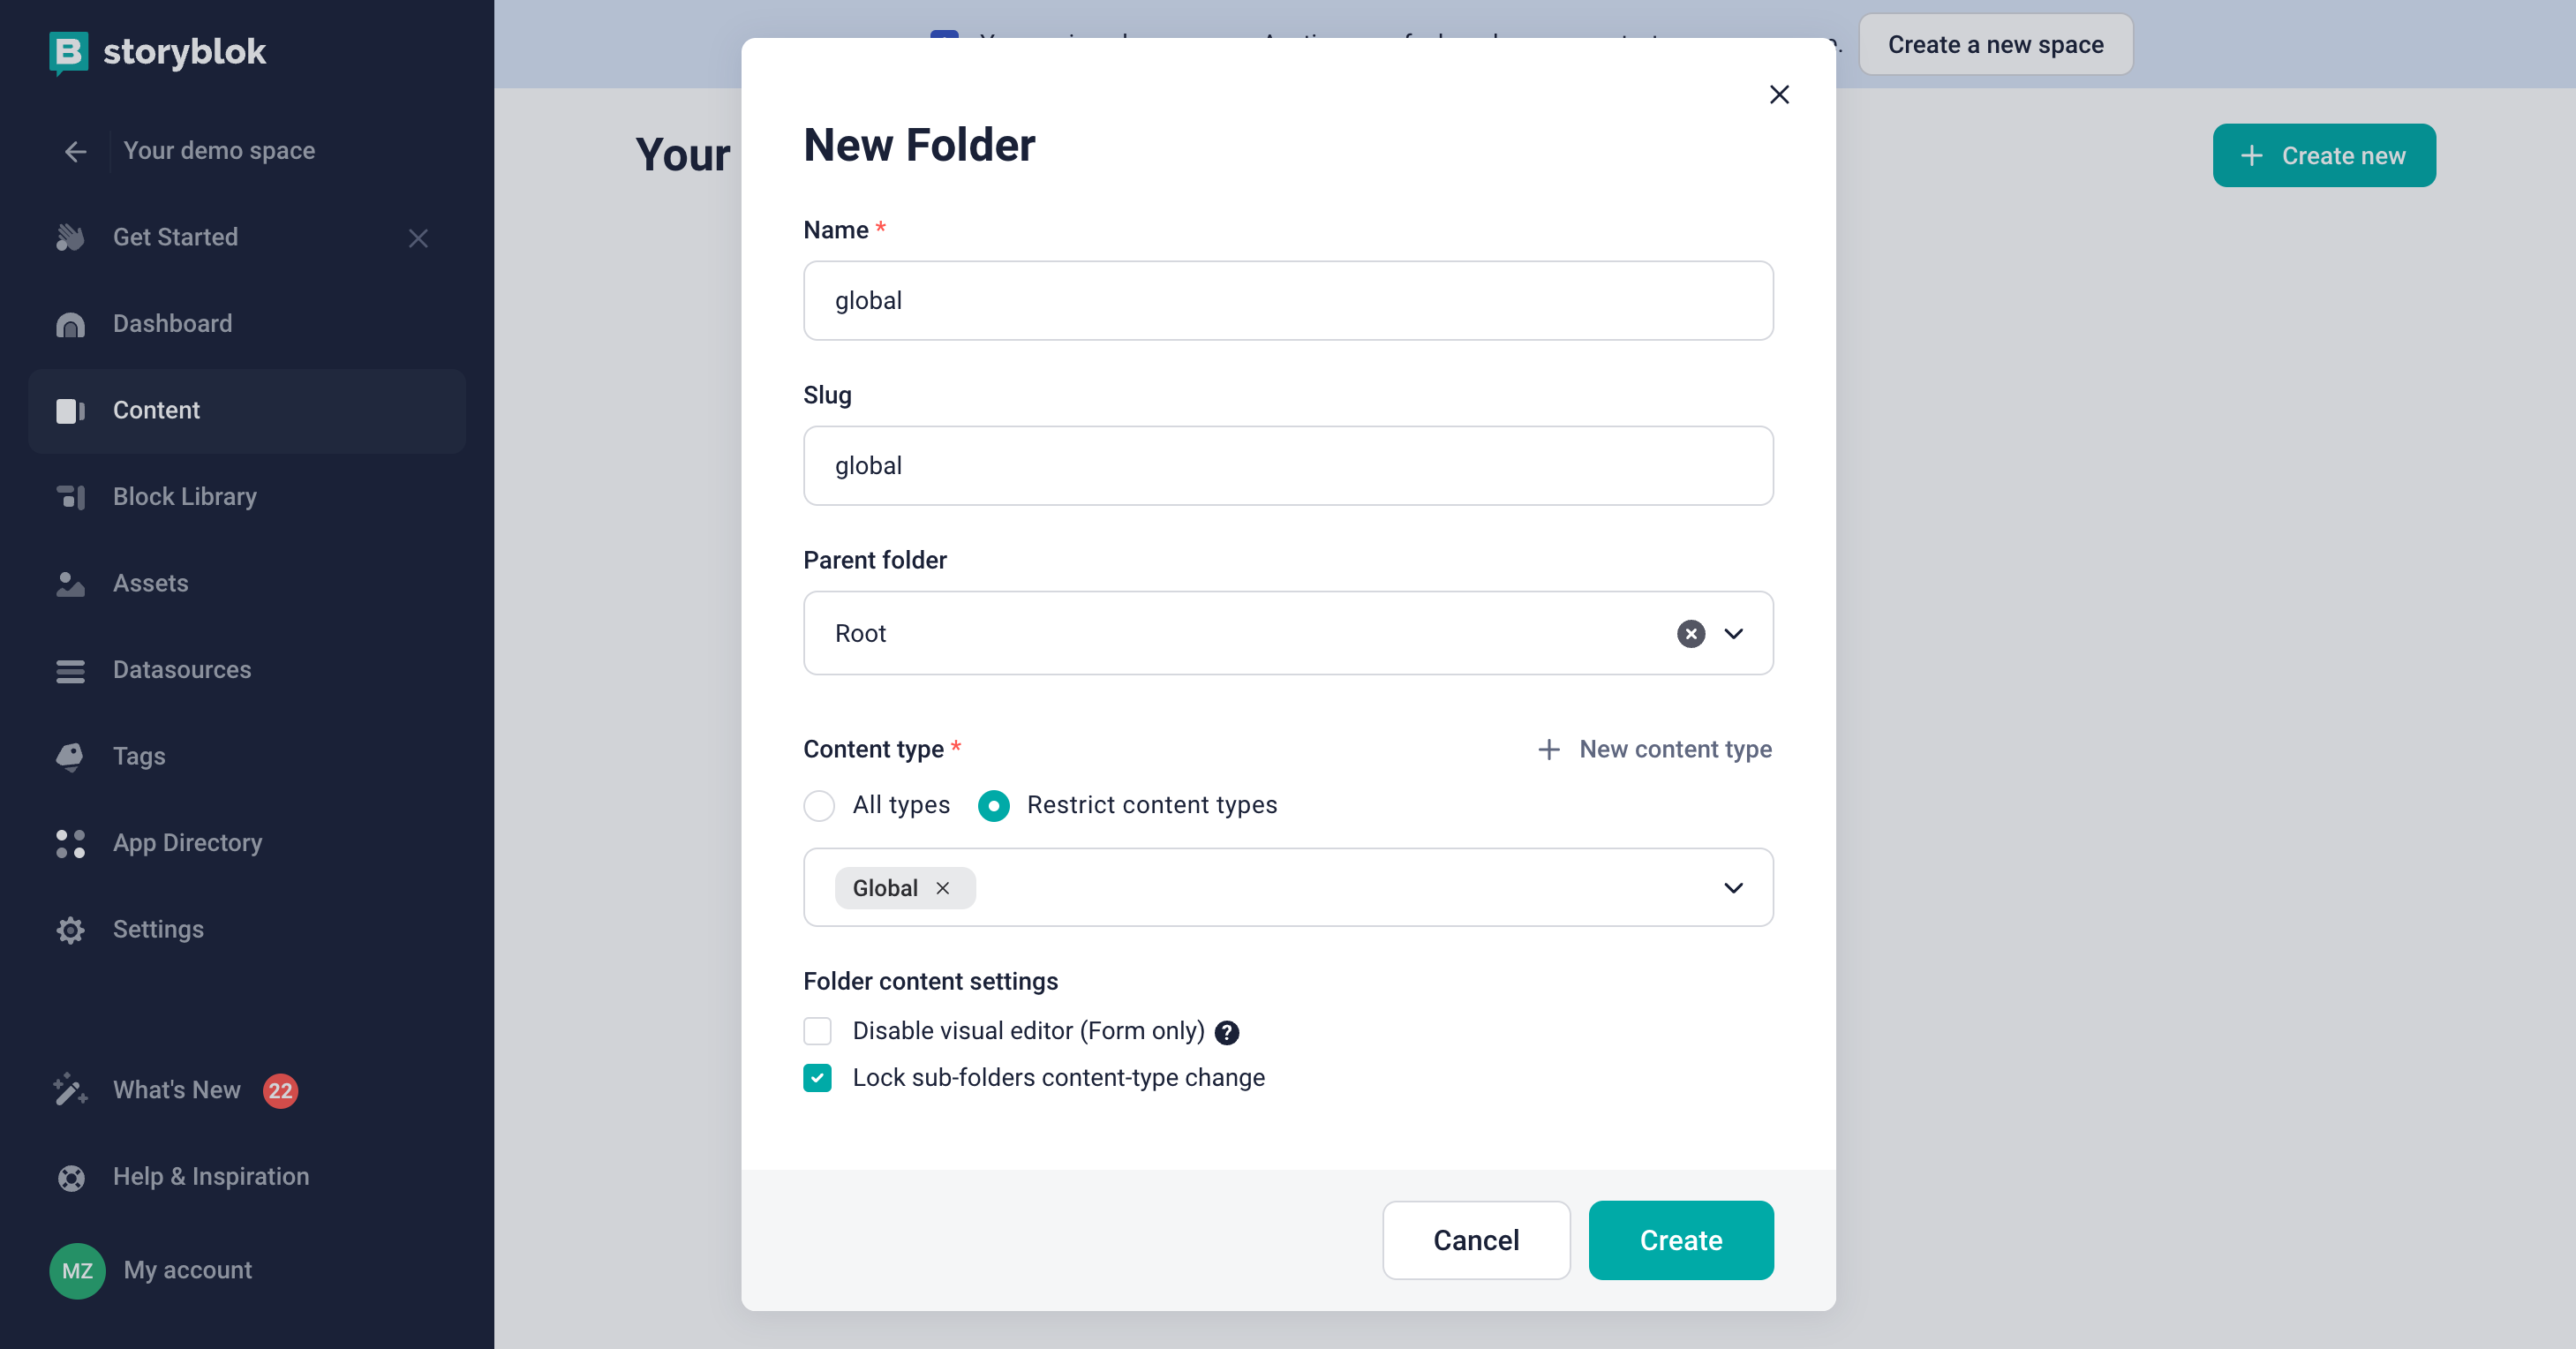
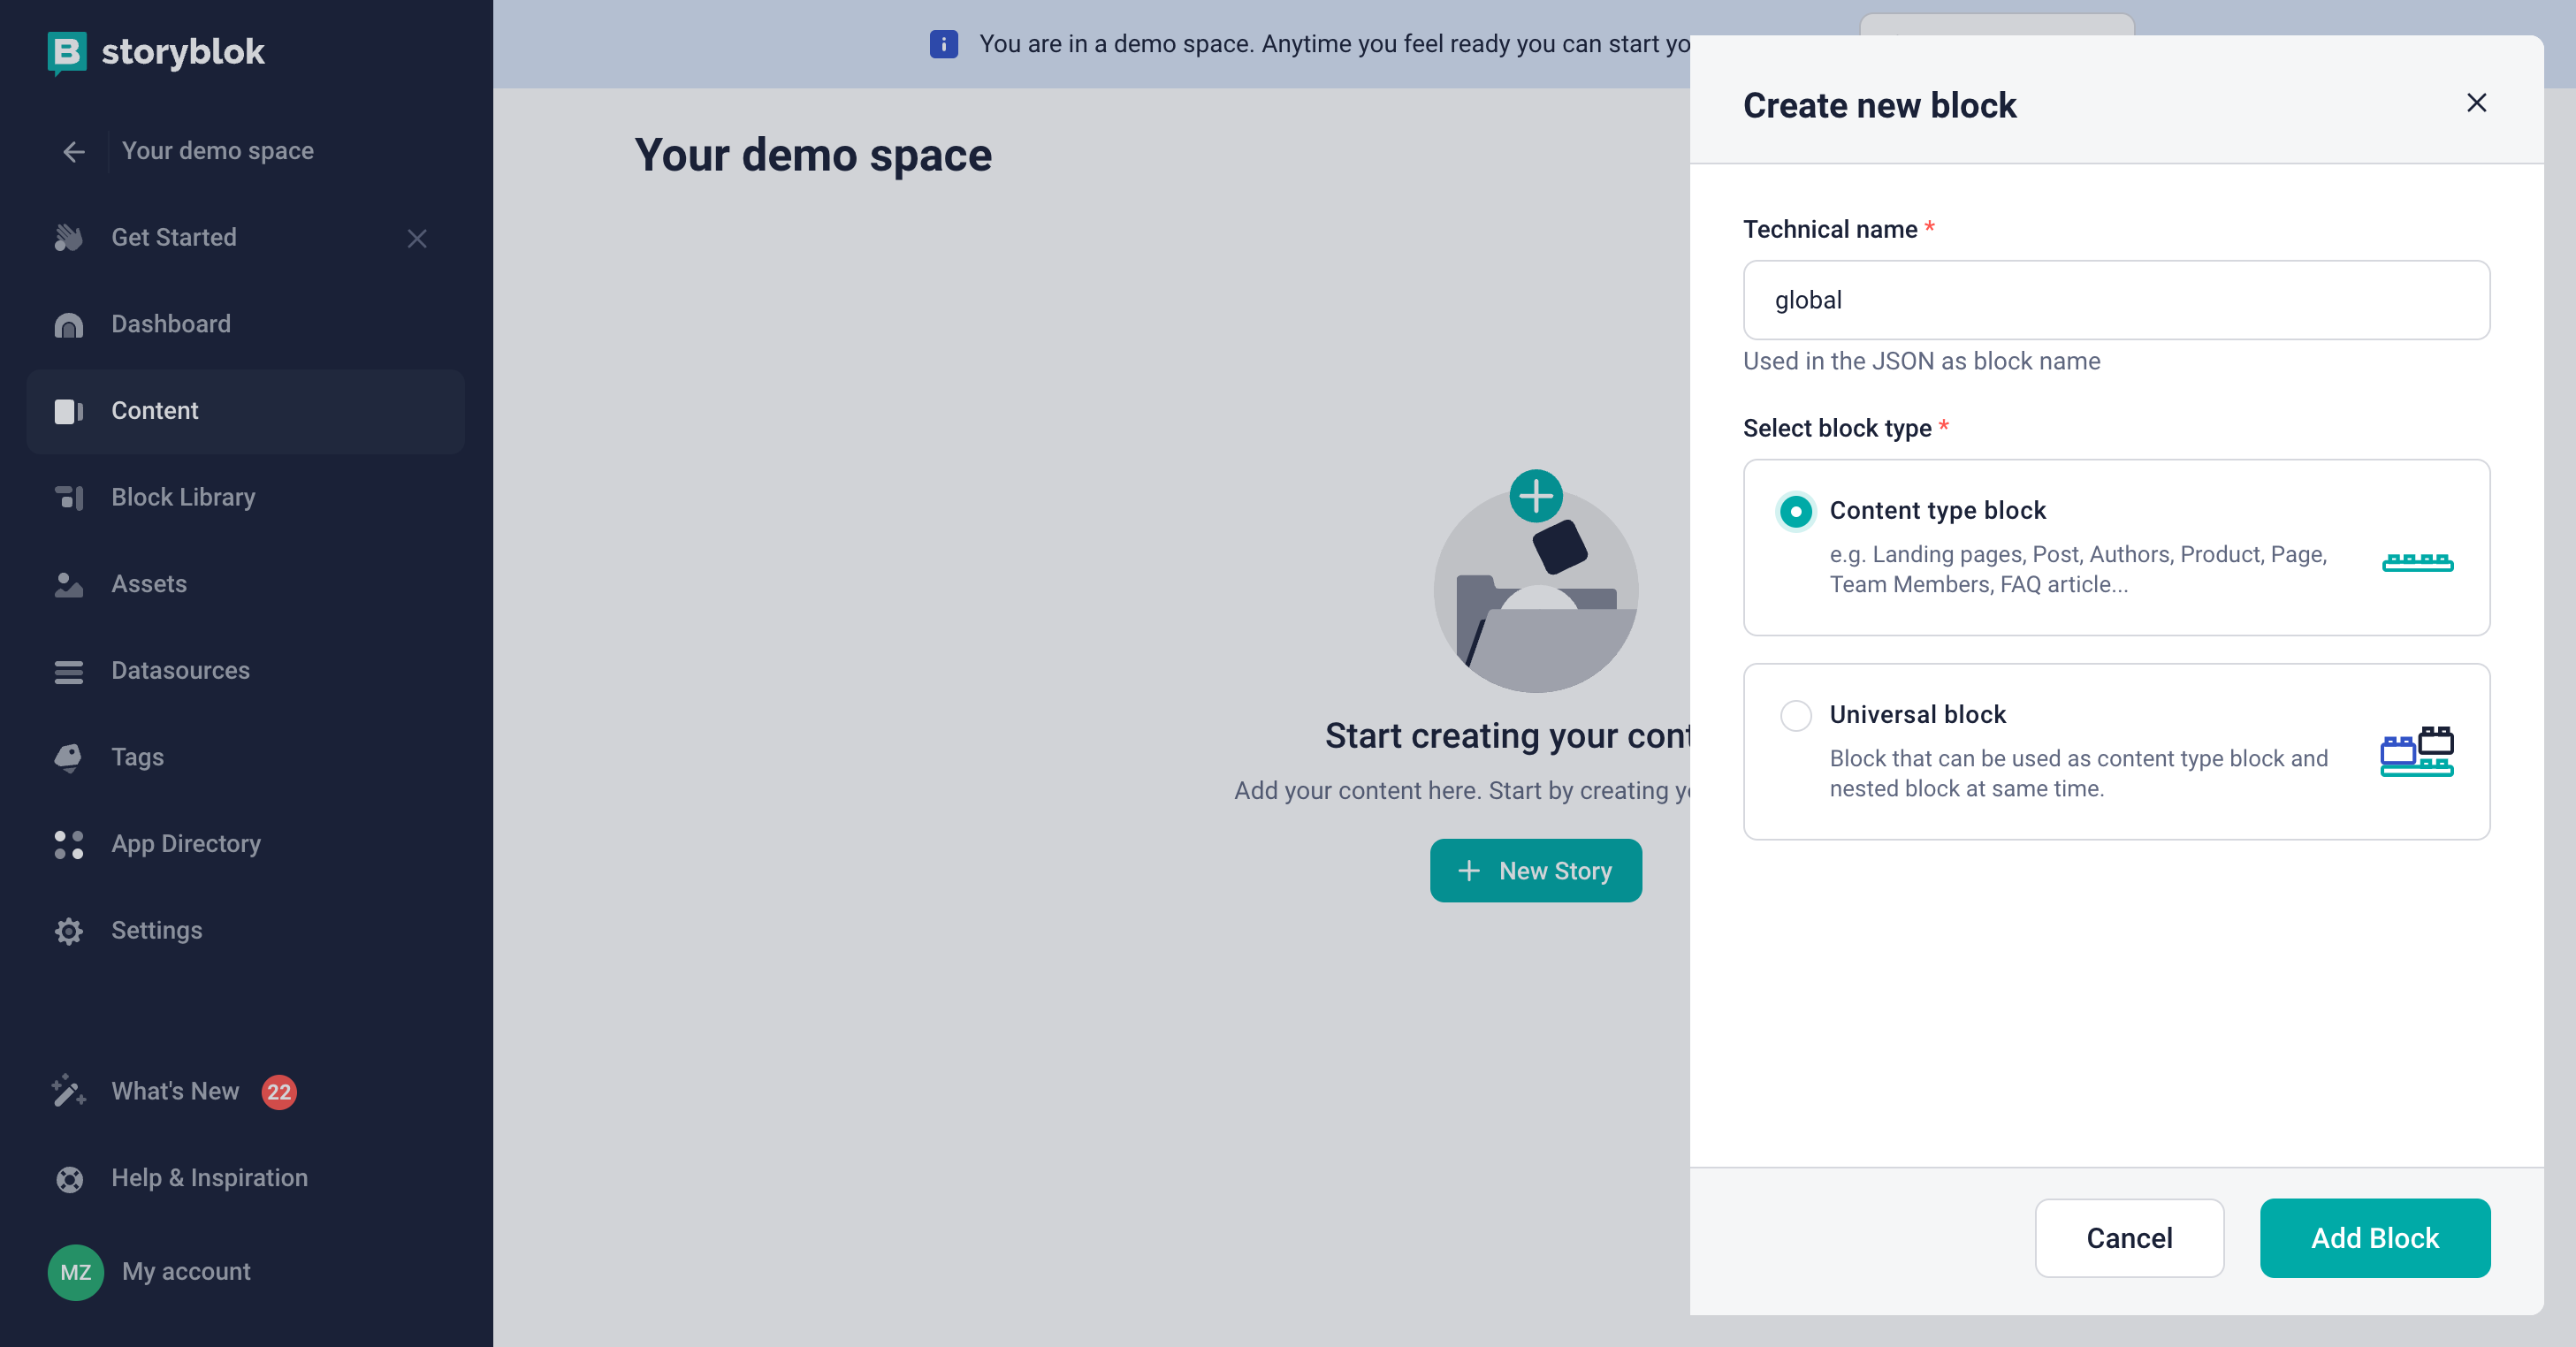
If you don't have a global content type, create it by clicking on the New content type button.
-
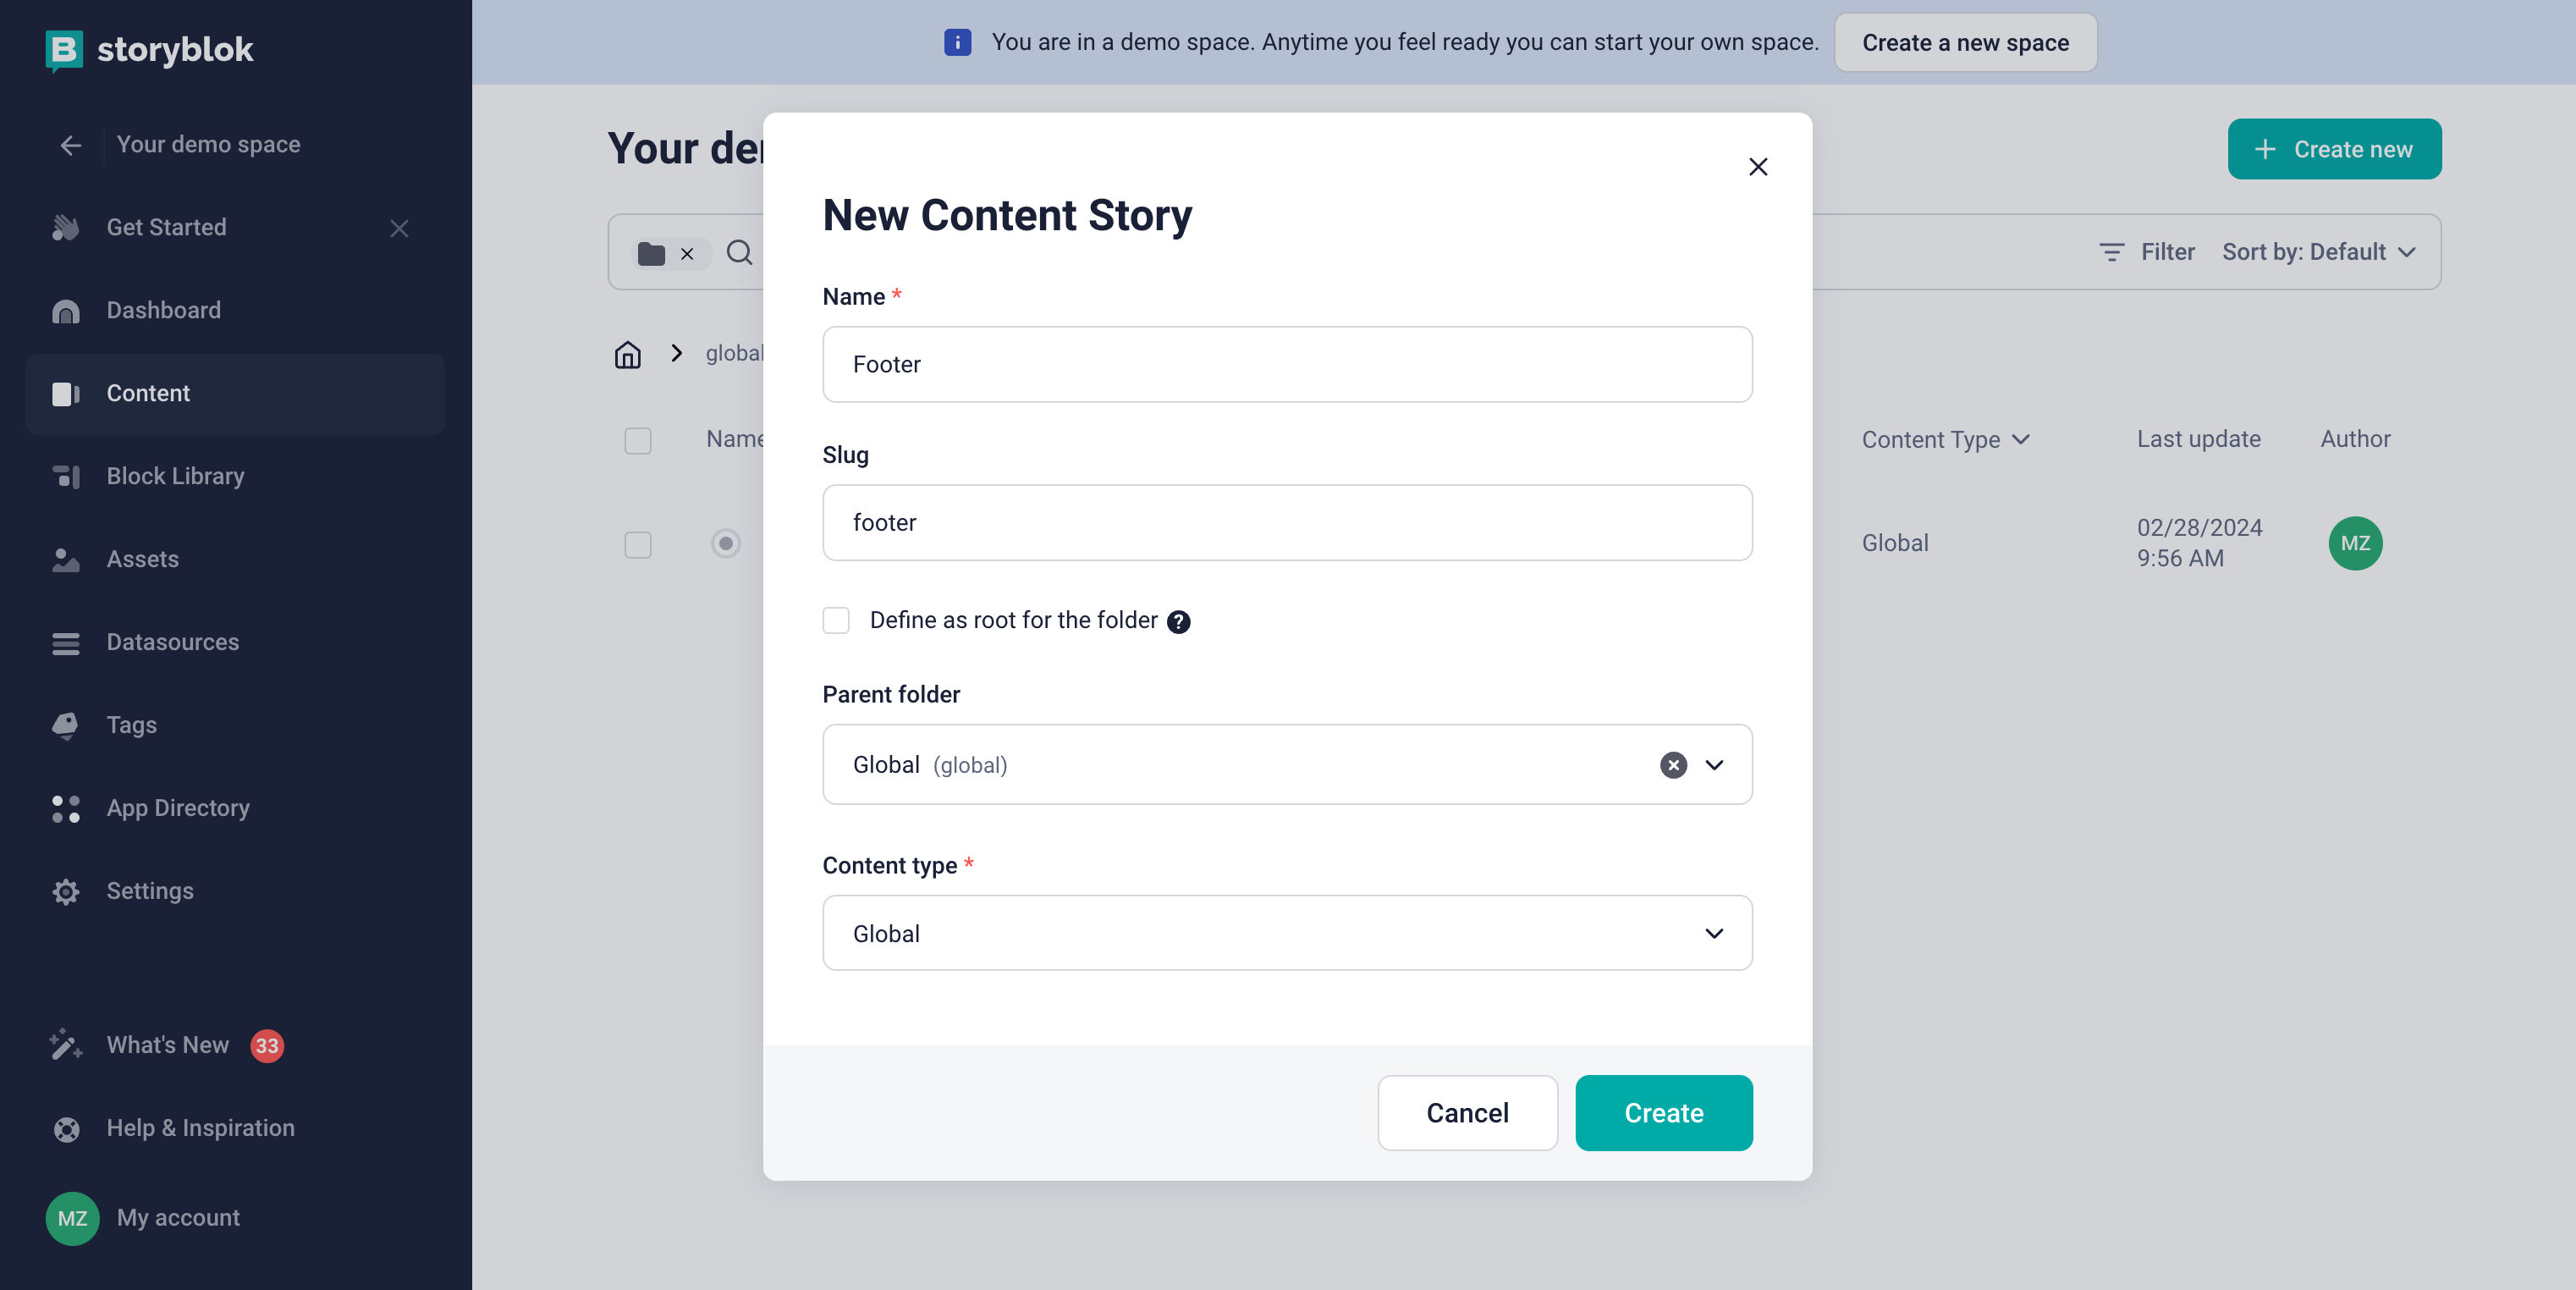
Create our first entry within the folder. When creating the entry, ensure that the content type is set to global as we have disabled the ability to change the content type for the folder. You can choose any name for the entry, but make sure it accurately describes the content of the global component to your editors. Since we are creating a footer, we will name the entry Footer.
-
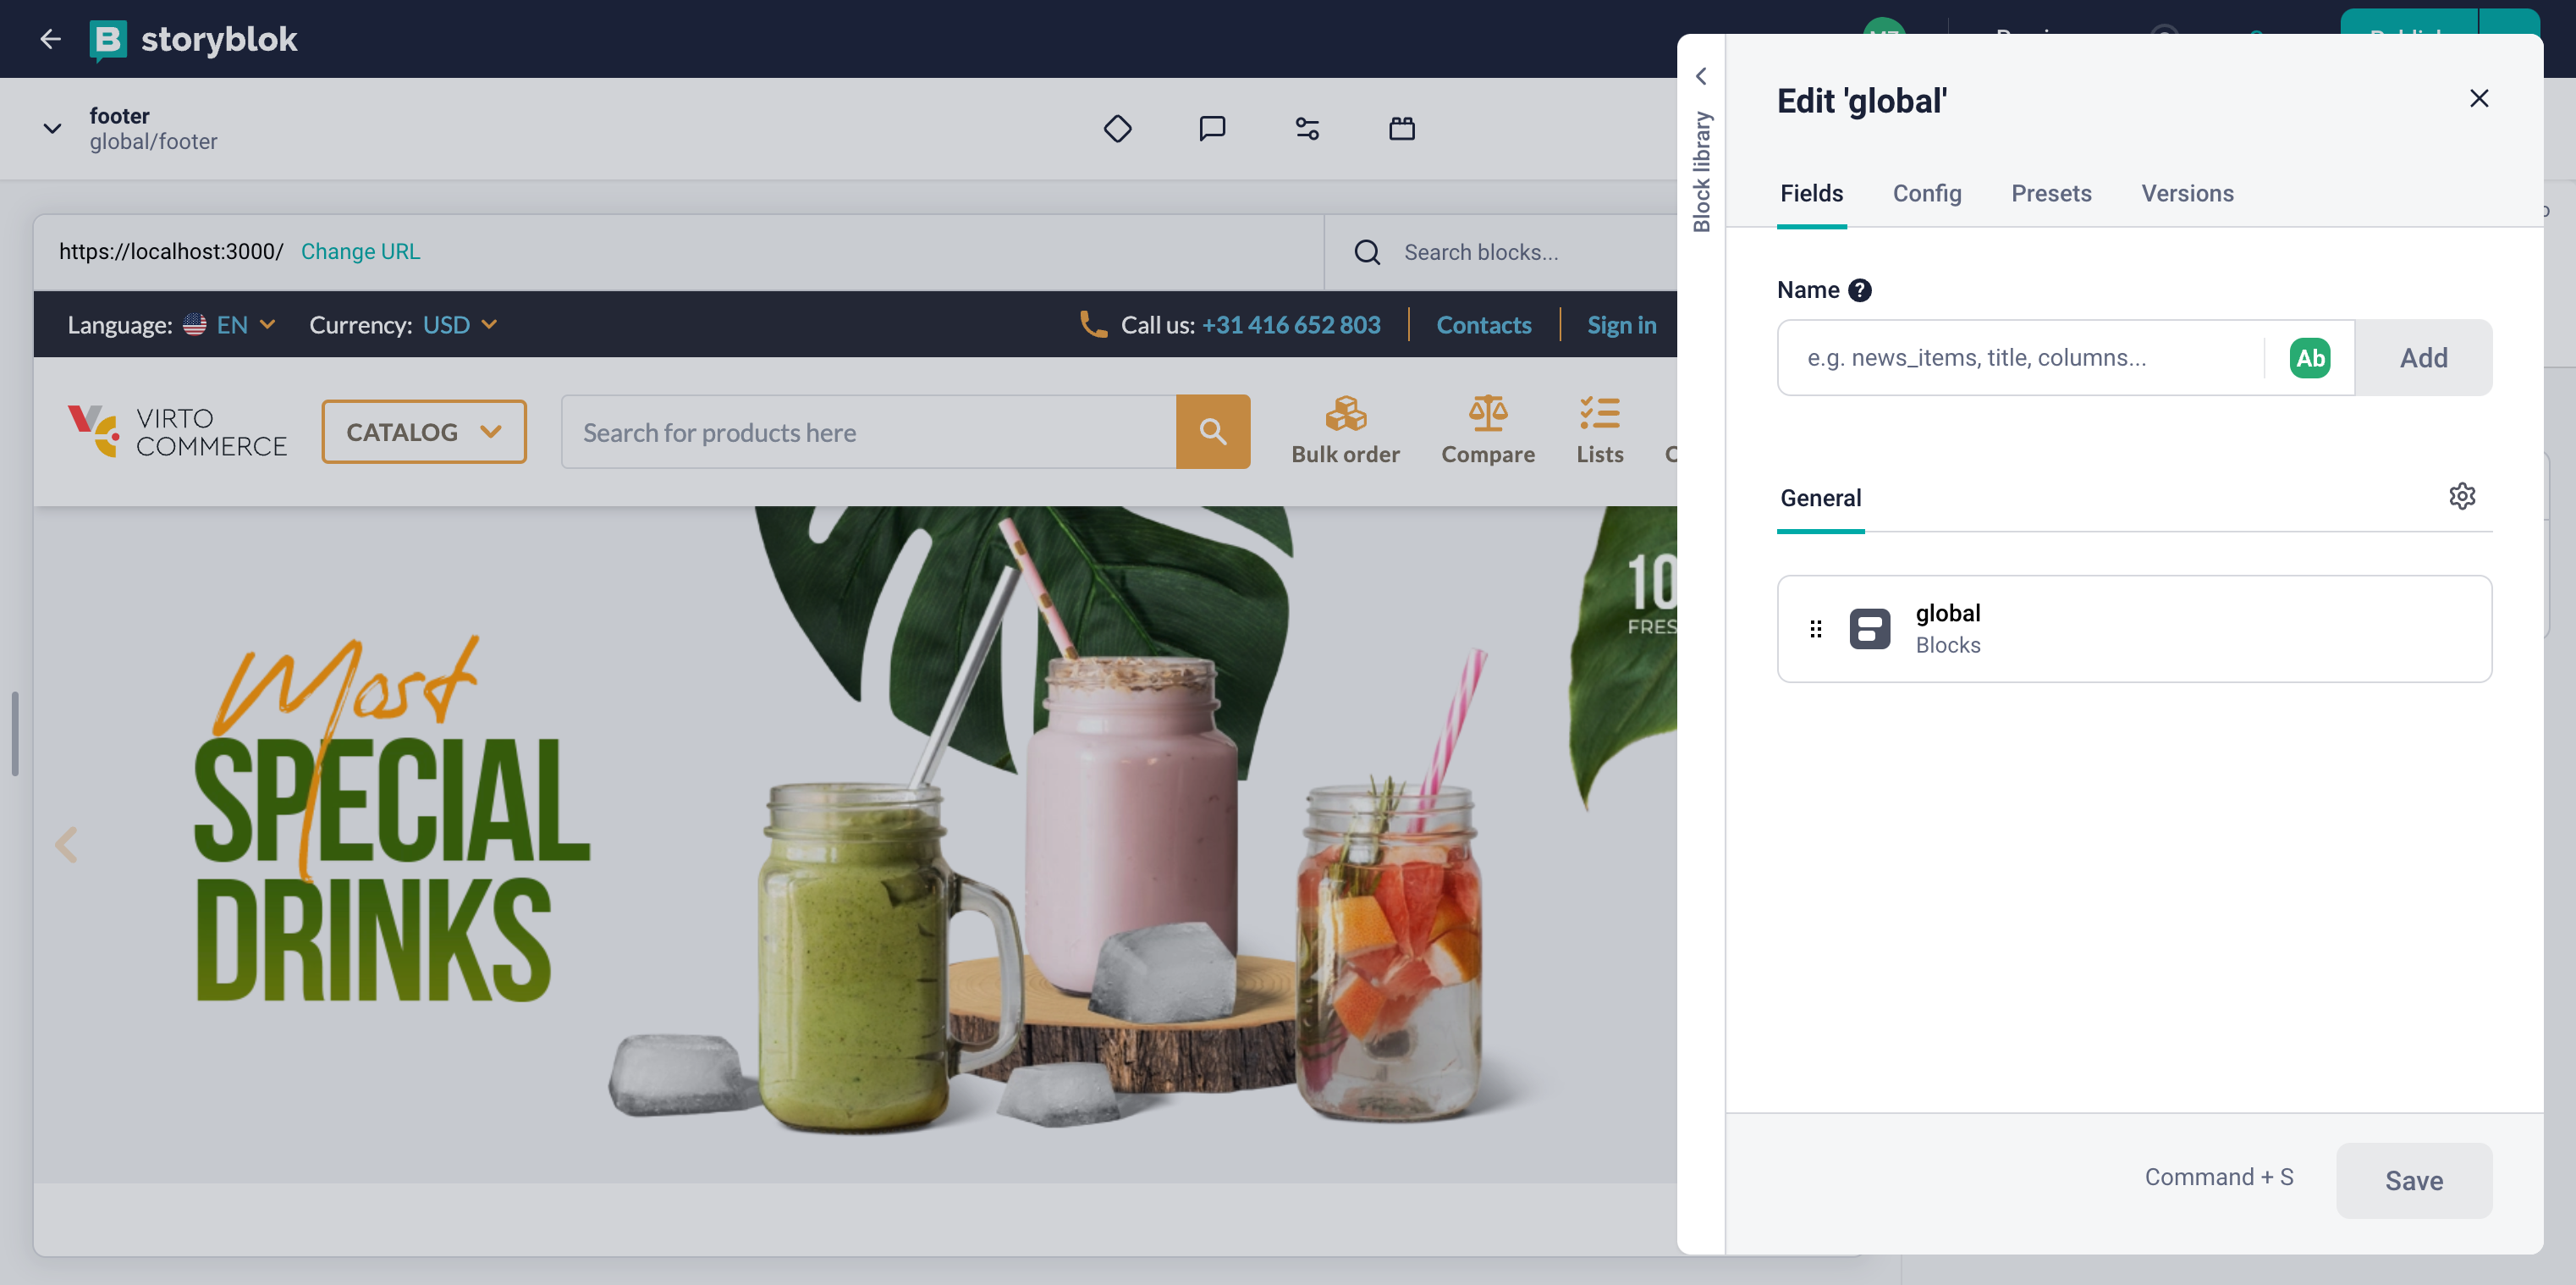
Set up the actual field in the entry that holds our component. We will click Define and add a new field called global of the Blocks type.
Create Footer Block
To create a new block called footer:
- Go to the Block Library menu and click New Block in the top right corner.
- Enter the name of the component. We will enter Footer.
- Add a new field called items of type Blocks.
-
Click Save.
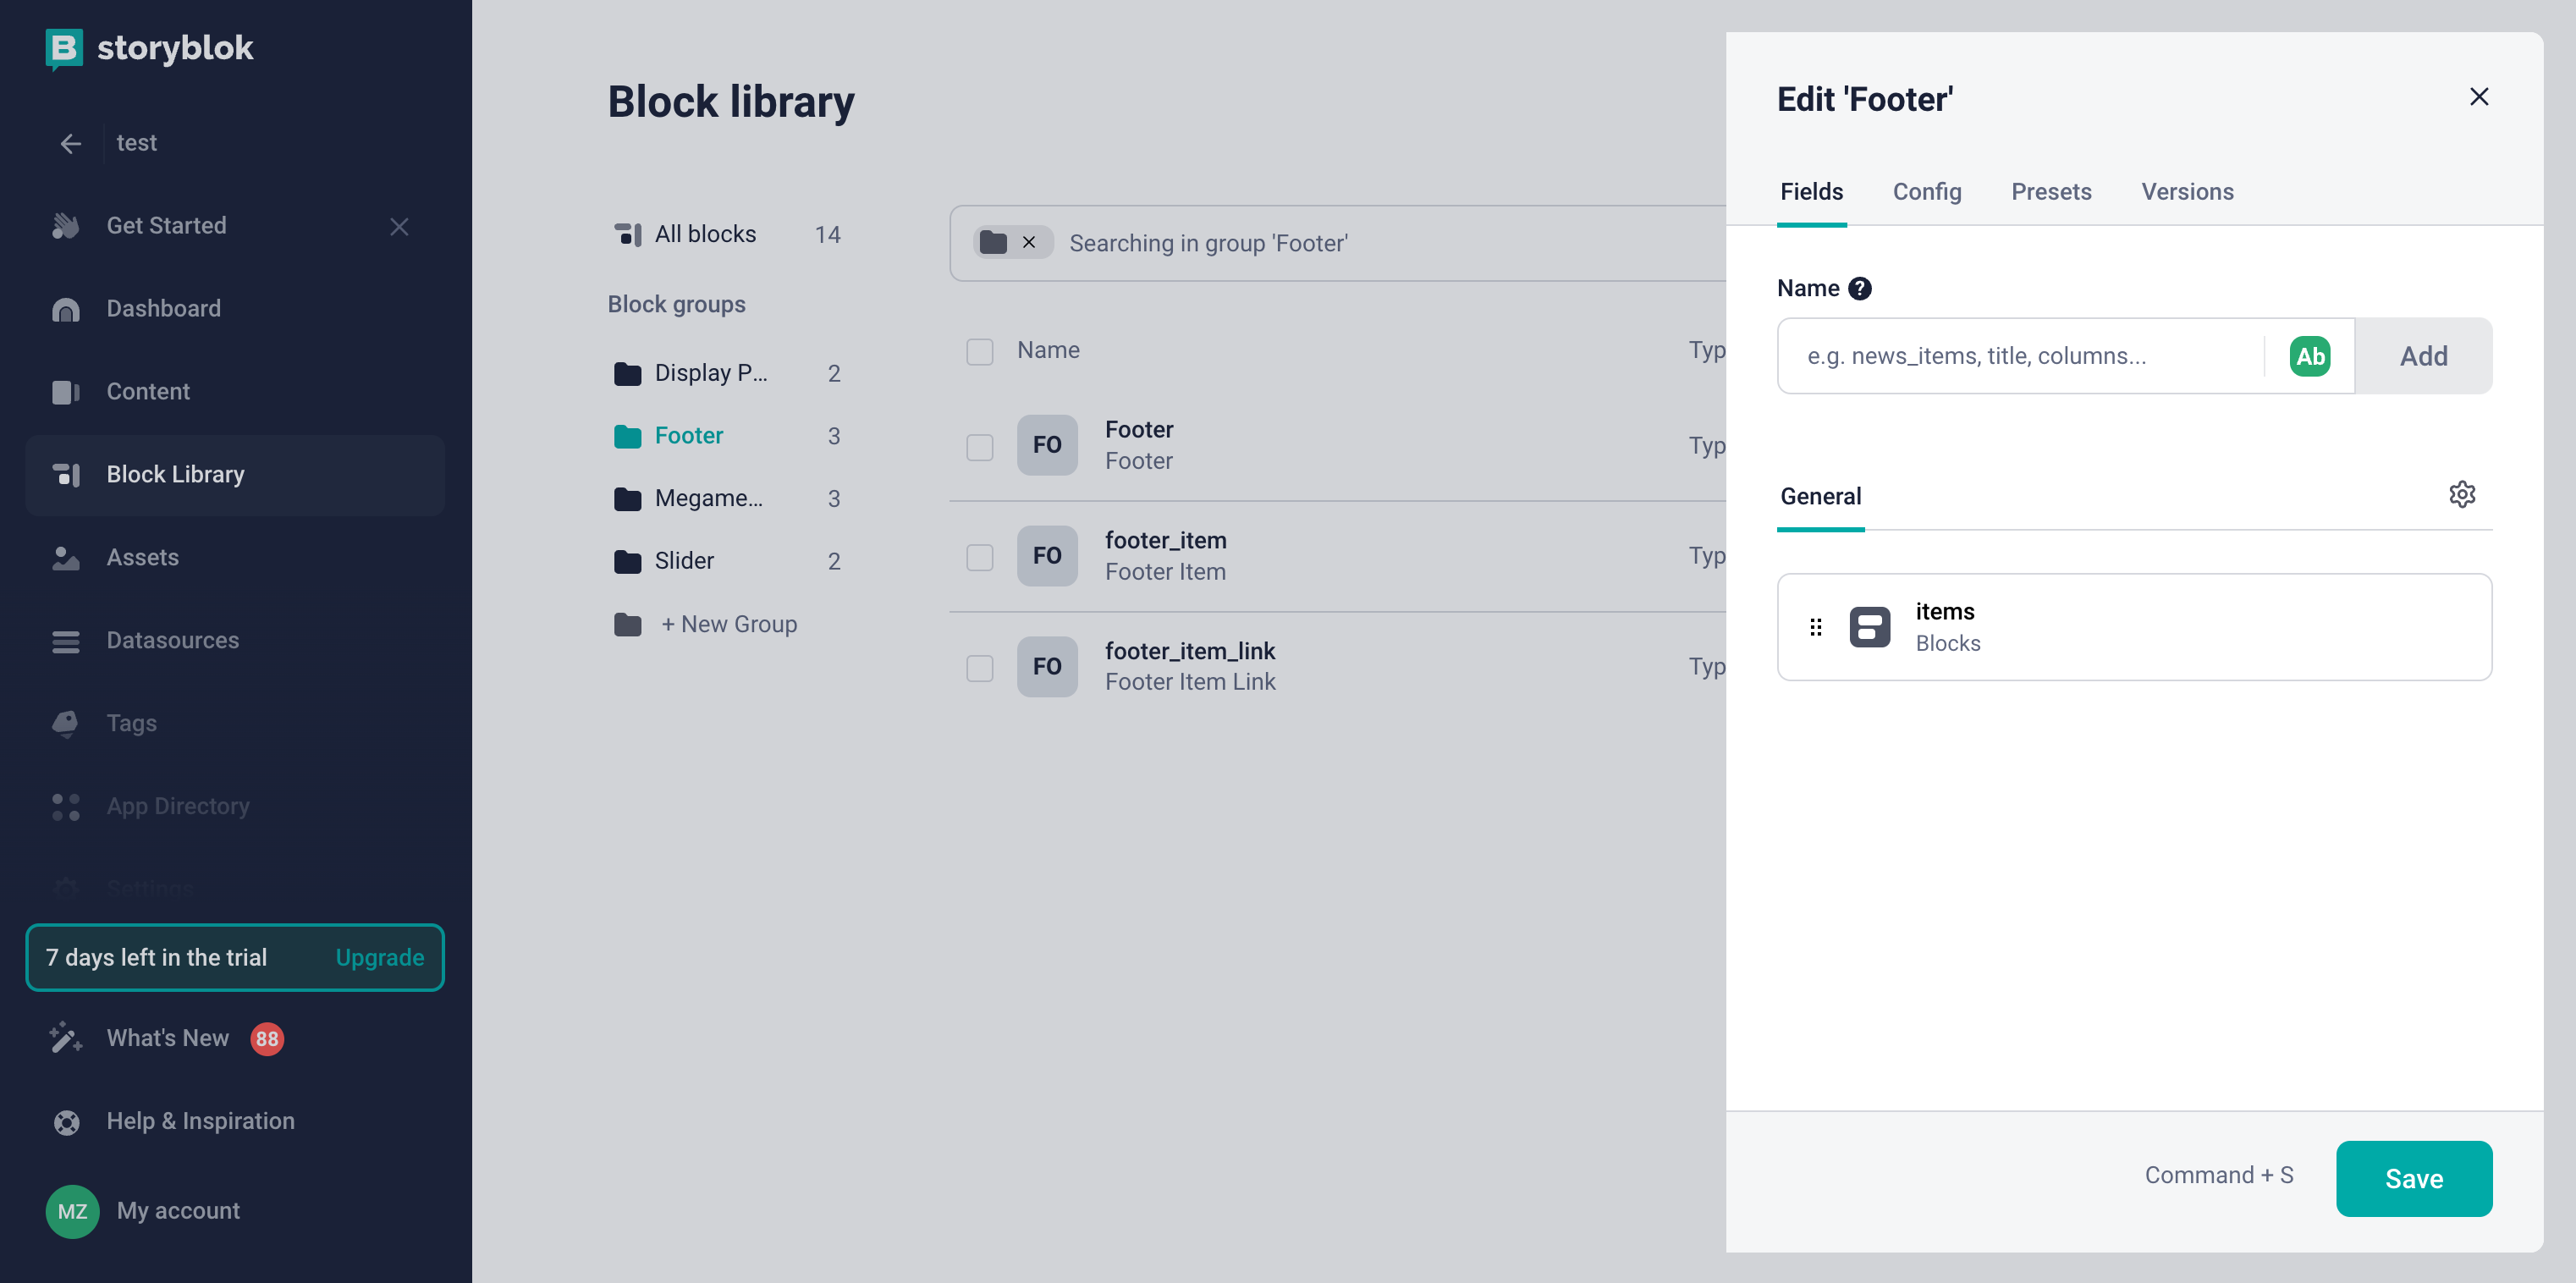
-
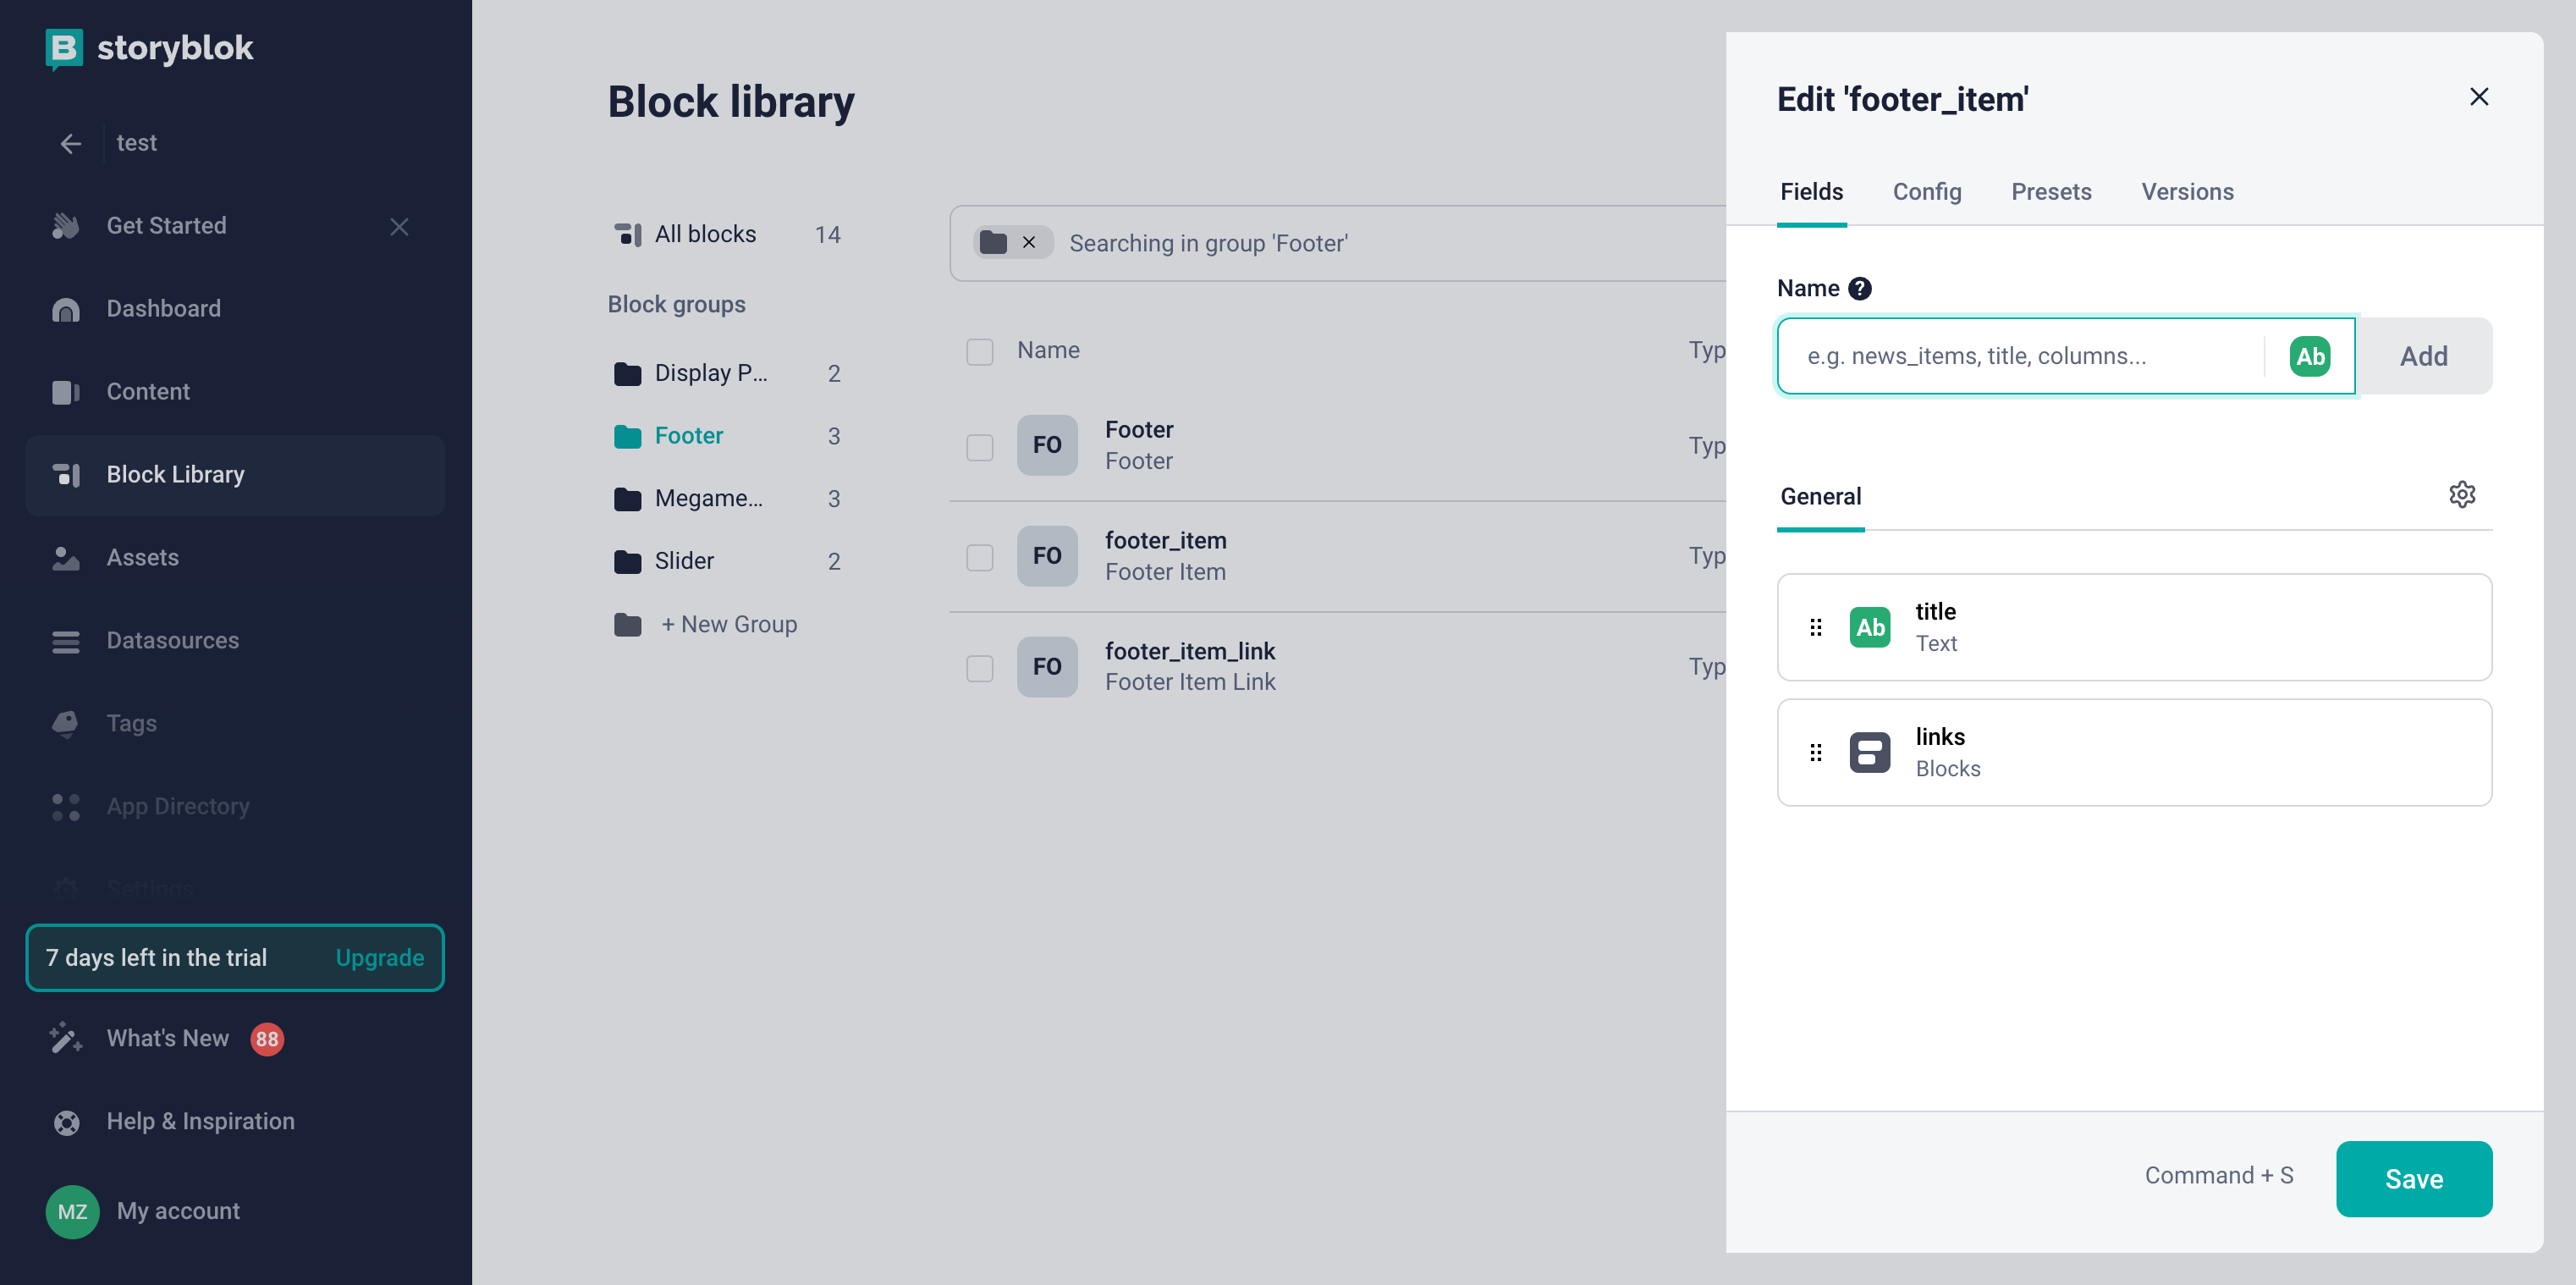
Since components in Storyblok have a block structure, we need to create blocks for each menu item and each menu link in the same way. For this, we will create the footer_item block and the footer_item_link block of the Nestable block type. The footer_item block structure can be as follows:
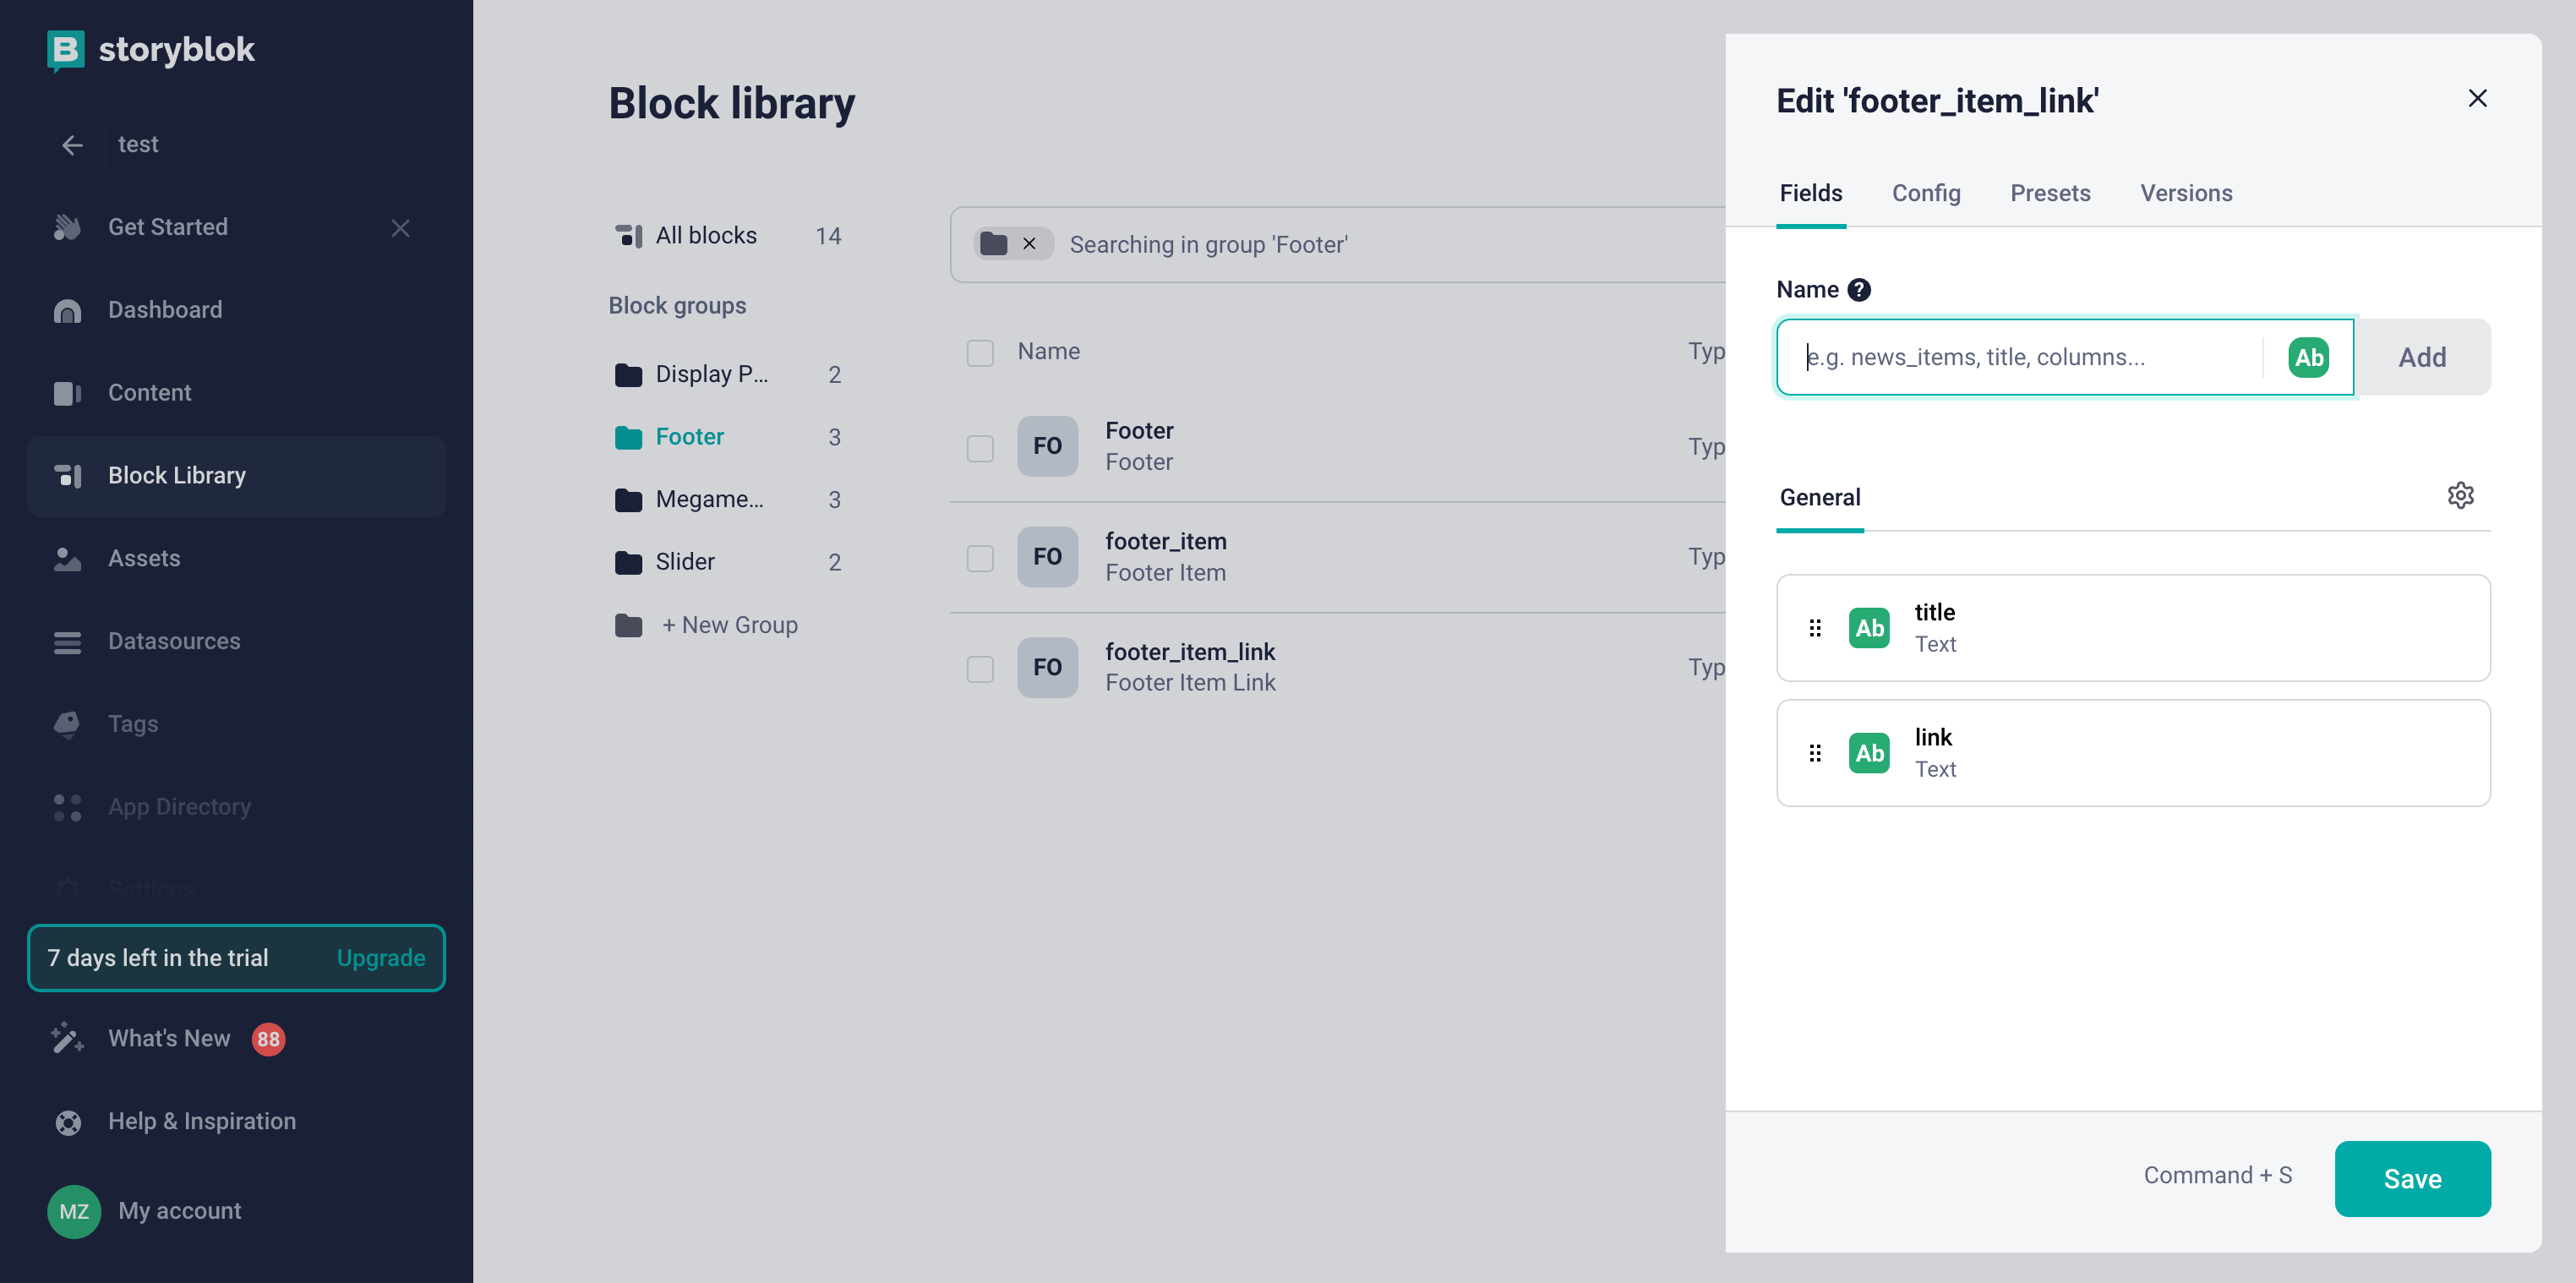
The footer_item_link block structure can be as follows:
-
Link all the blocks together to restrict the selection of external blocks that are not related to the footer:
- Go to the settings of each block to find the entry with the type Blocks in the General section and in the Edit field section.
- Check Allow only specific components to be inserted.
-
Choose the component that can be nested in this block. In our example, the nesting looks as follows:
Footer block configuration can be as follows:
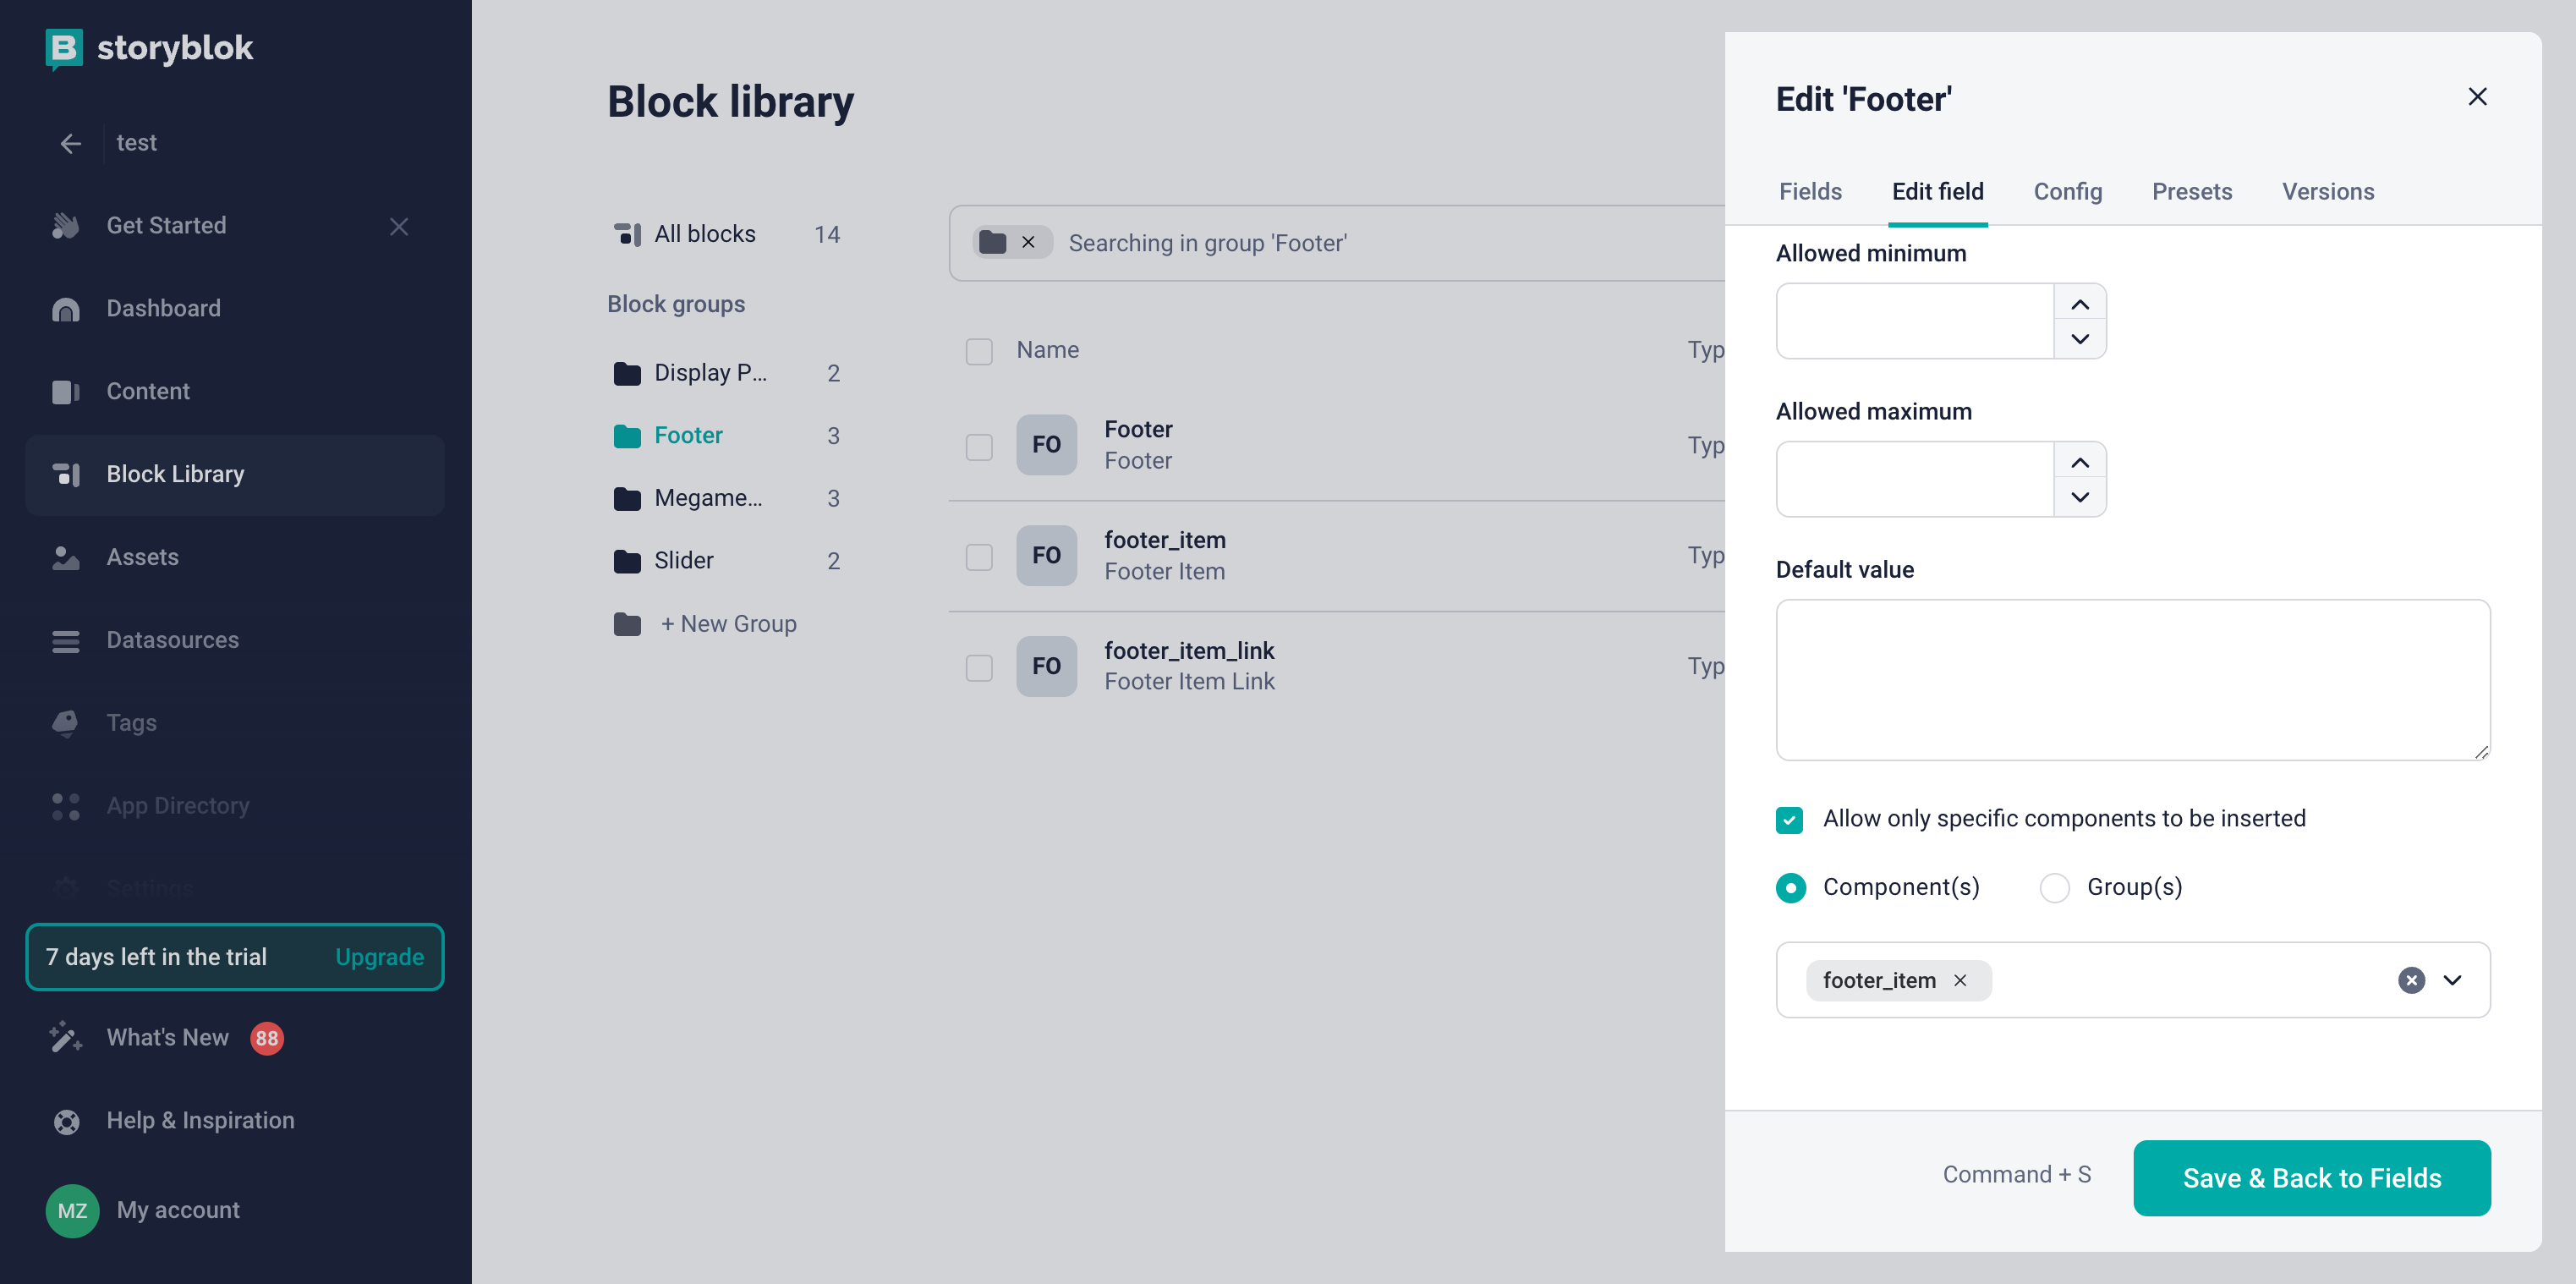
The blocks have been created and their nesting has been configured.
Create Footer Content
To create the content for our Footer:
- Go to the Content menu and click on the Footer entry we created earlier.
-
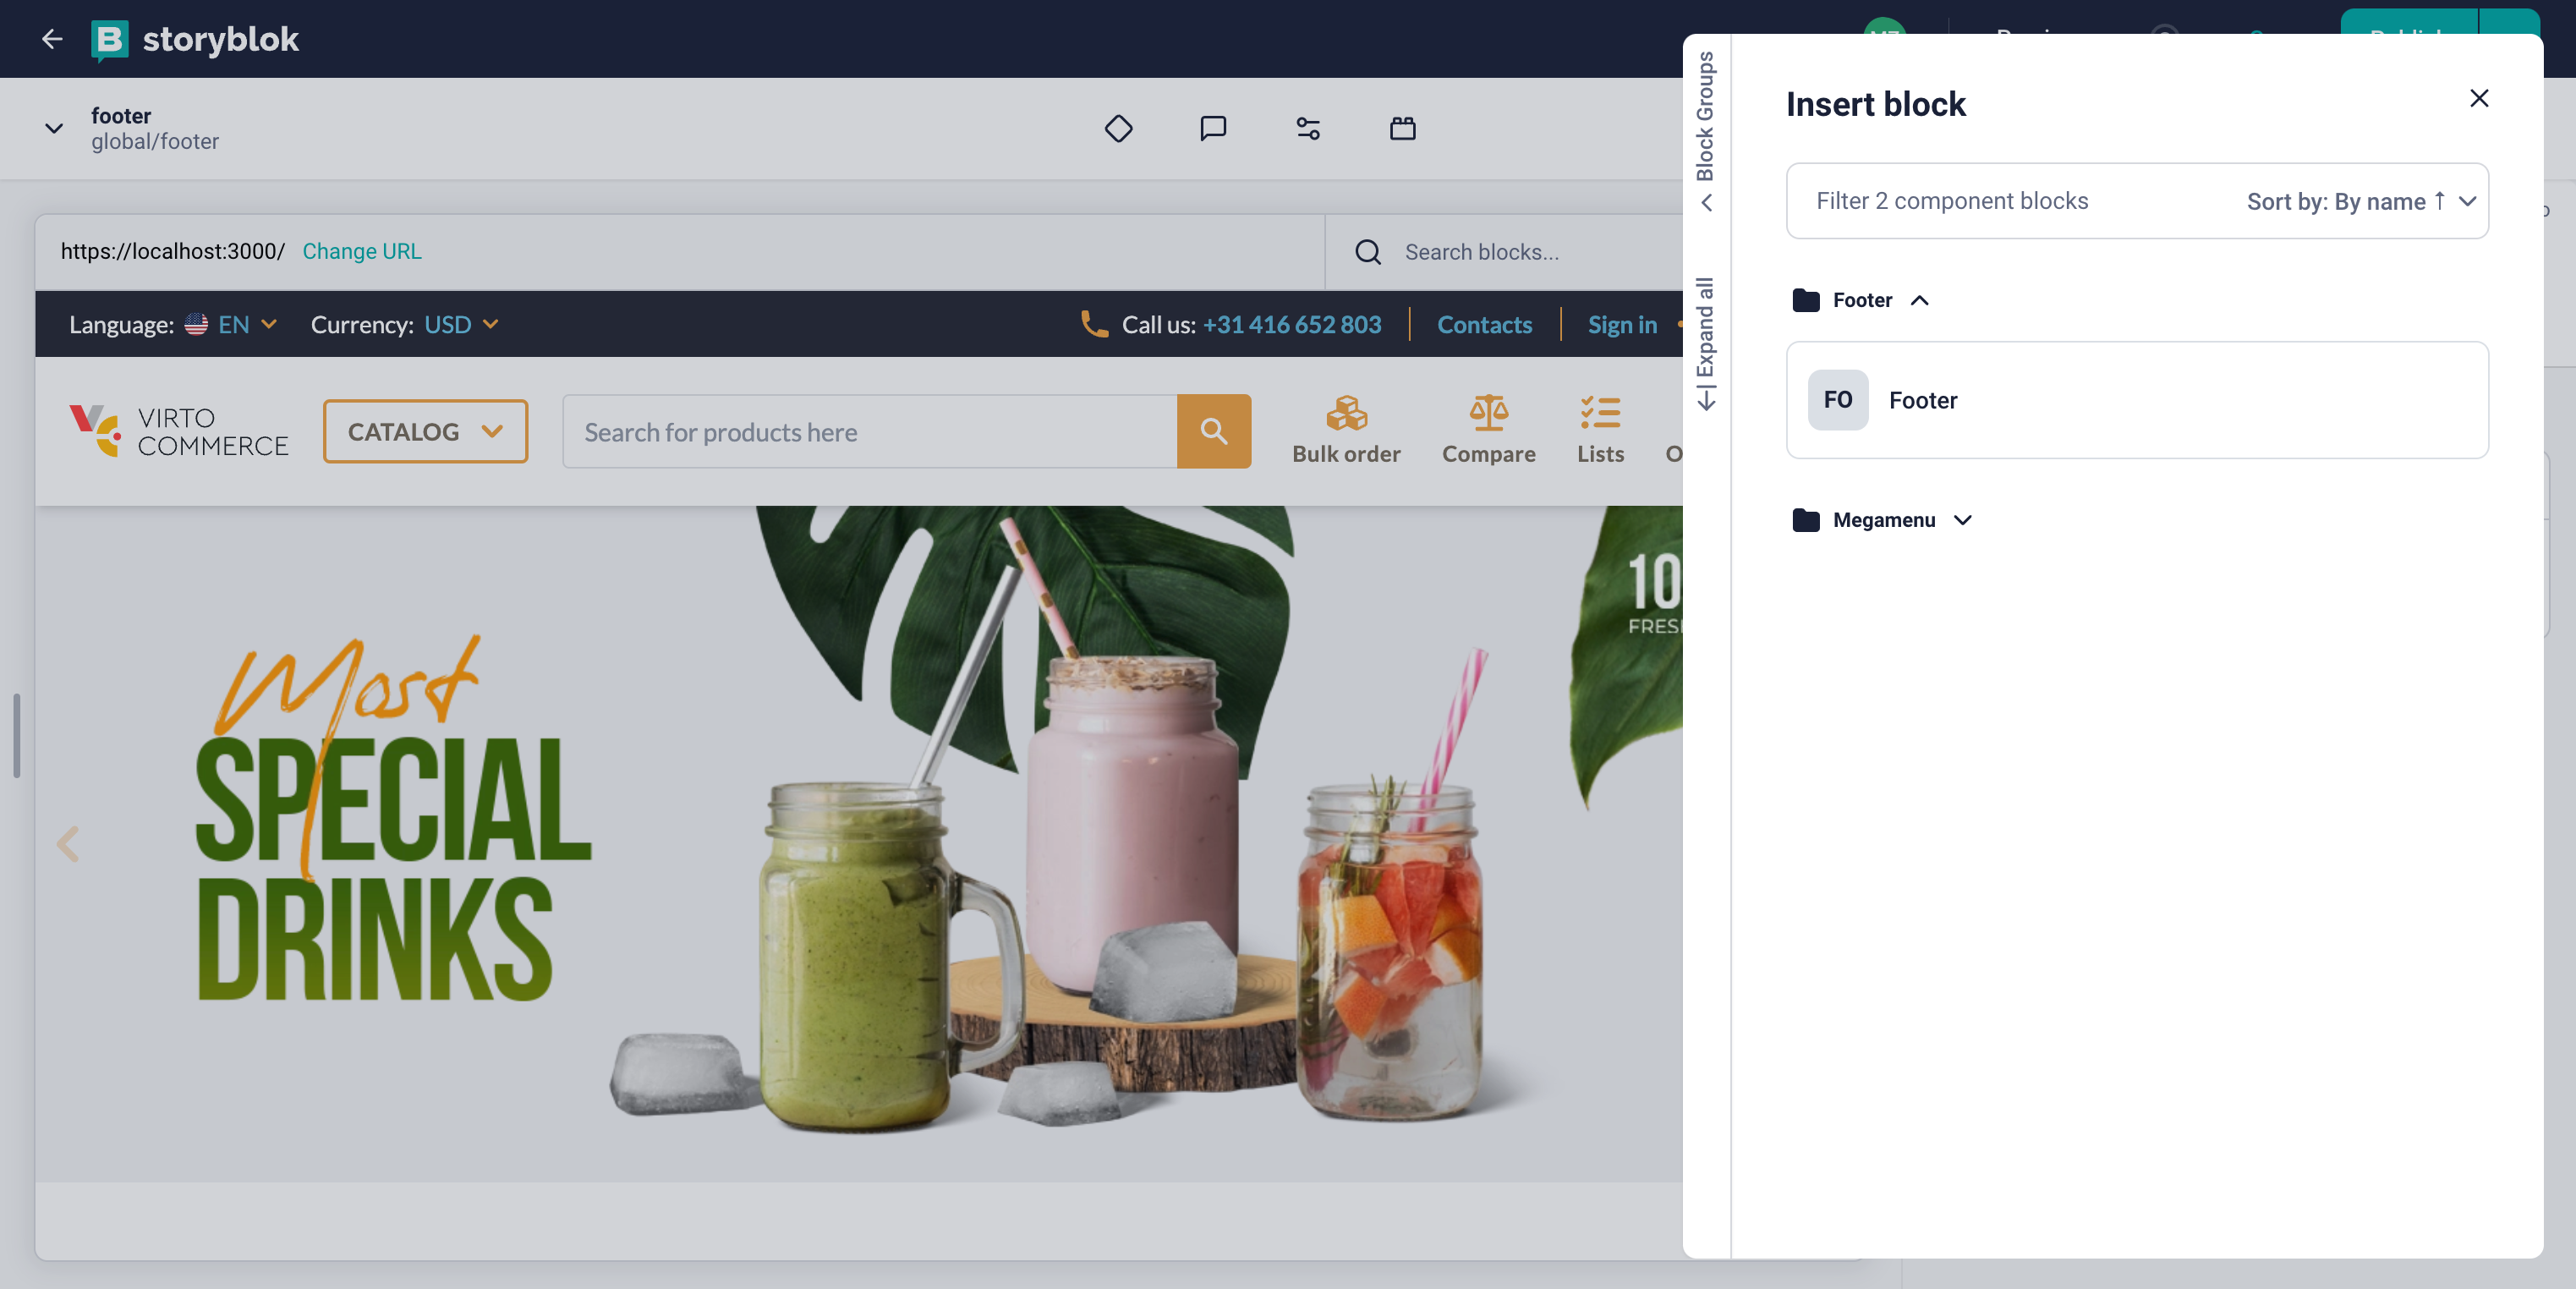
Click on the Add Block button and select the Footer block.
-
Add the footer_item block.
- Add the footer_item_link block.
- Fill in the necessary fields for each block.
- Click Save to save the changes.
Fetch Content from Storyblok and Display in vue-b2b-theme
To fetch content from Storyblok and display it in the vue-b2b-theme, go to the vue-b2b-theme and edit the vc-footer component. Remove hard-coded columns and change it to the fetched ones.
The final vc-footer component looks as follows:
<template>
    <footer aria-label="Footer">
        <!-- Top footer -->
        <div
        v-if="!compact"
        class="hidden bg-[color:var(--color-footer-top-bg)] text-[color:var(--color-footer-top-text)] md:block print:!hidden"
        >
        <div class="container mx-auto grid grid-cols-2 gap-4 p-12 lg:grid-cols-4 xl:grid-cols-5">
            <!-- Logo column -->
            <div class="hidden xl:block">
            <VcImage :src="$cfg.logo_inverted_image" :alt="$context.storeName" class="h-9" lazy />
            </div>

            <div v-for="(col, index) in columns" :key="index">
            <div v-t="col.title" class="mb-3 text-base font-extrabold uppercase text-white"></div>
            <div class="flex flex-col space-y-1">
                <FooterLink
                v-for="(link, linkIndex) in col.links"
                :key="`link_${linkIndex}`"
                v-t="link.title"
                :to="link.link"
                ></FooterLink>
            </div>
            </div>
        </div>
        </div>

        <!-- Bottom footer -->
        <!-- ... -->
    </footer>
</template>
After making the changes, the footer will now be fetched from Storyblok and displayed in the vue-b2b-theme:

Now you can publish the changes in Storyblok and see the updated footer in the vue-b2b-theme.