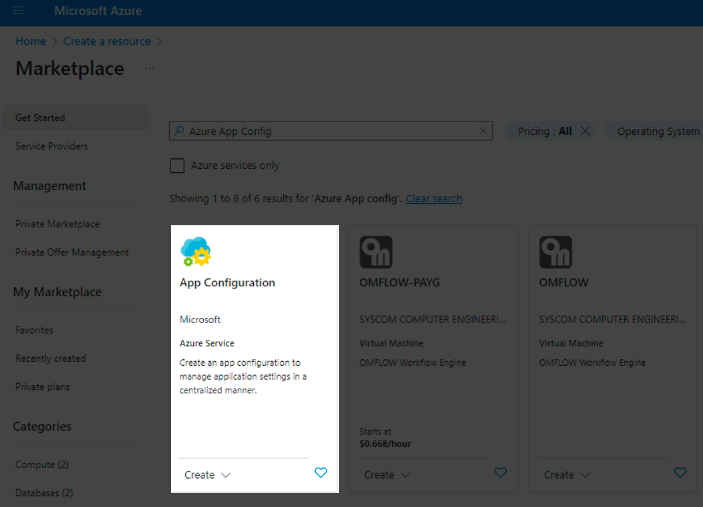
Azure App Configuration
Azure App Configuration is a service that enables centralized management of application settings and feature flags. Azure App Configuration offers the following benefits:
- Fully managed service: It can be set up in minutes.
- Flexible key representations and mappings: You can define keys and how they are structured, allowing for flexibility in managing configurations.
- Tagging with labels: Organize your configurations by applying labels to make them easier to manage.
- Point-in-time replay of settings: Easily revert to previous configurations with the ability to replay settings from a specific point in time.
- Dedicated UI for feature flag management: A user-friendly interface for managing feature flags, making it simpler to control feature rollout.
- Comparison of two sets of configurations on custom-defined dimensions: Compare different sets of configurations based on custom-defined criteria to assess changes and their impact.
- Enhanced security through Azure-managed identities: Benefit from enhanced security using Azure-managed identities to control access.
- Encryption of sensitive information at rest and in transit: Sensitive information is encrypted when stored and during transmission, ensuring data security.
![]() Microsoft Guide on Azure App configuration
Microsoft Guide on Azure App configuration
![]() Configuring and Managing Azure AD Authentication in Virto Commerce Platform
Configuring and Managing Azure AD Authentication in Virto Commerce Platform
To add Azure App Configuration:
-
Register new Azure App Resource:
-
Go to the Azure Portal and locate your newly created resource.
- In the Azure App Configuration settings, navigate to the Access Keys section, which provides you with essential connection details.
- Copy the full connection string from the Access Keys section in the Azure Portal.
- Open your project's appsettings.json file in the root directory of your application and locate the
ConnectionStringssection. -
Paste the copied full connection string inside the double quotes:
-
Register your key-values inside Operations → Configuration Explorer. Existing keys values will be overwritten with ones from your Azure App Configuration.

-
Bind a new options class inside the module.cs Initialize method:
-
Locate the module.cs file where you initialize your application's settings and configurations and define a new options class within the module.cs file.
-
Within the Initialize method of the module.cs file, configure and bind the options class to your application's configuration. Ensure that the section name matches the structure of your appsettings.json file.
Info
Key values can be obtained by injecting
IOptions<YourOptionsClassName>. In the example above, injectIOptions<Settings>for the new options,IOptions<FrontendSecurityOptions>for the existing ones. -
-
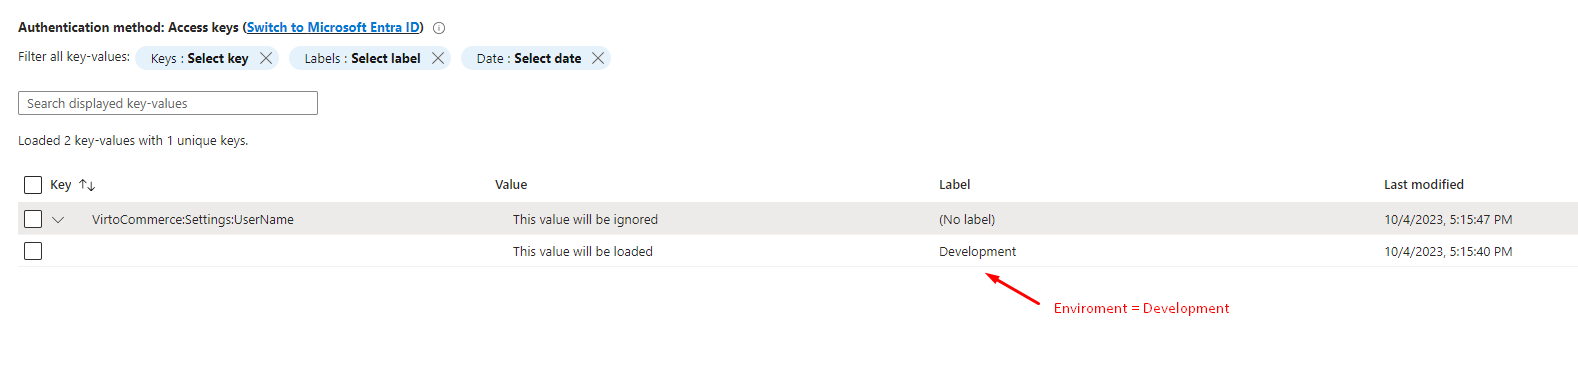
Configure labels for environment-specific configurations. You can load keys with or without labels based on specific environments (e.g., Development, Production, etc.).
-
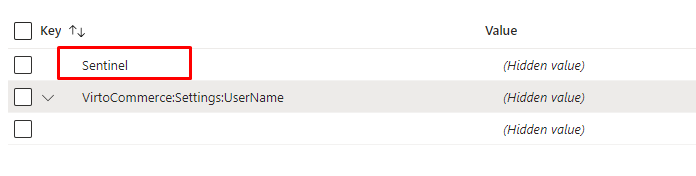
Configure auto-reload. The configuration supports Sentinel, a special key which functions as a versioning key for the list of configuration values. The application monitors the value of this key. When it changes, the configuration values are automatically reloaded. By default, the application checks the Sentinel key every 30 seconds.
Info
To use current values of the configuration, inject IOptionsMonitor<T> instead of IOptions<T> and access CurrentValue property.